
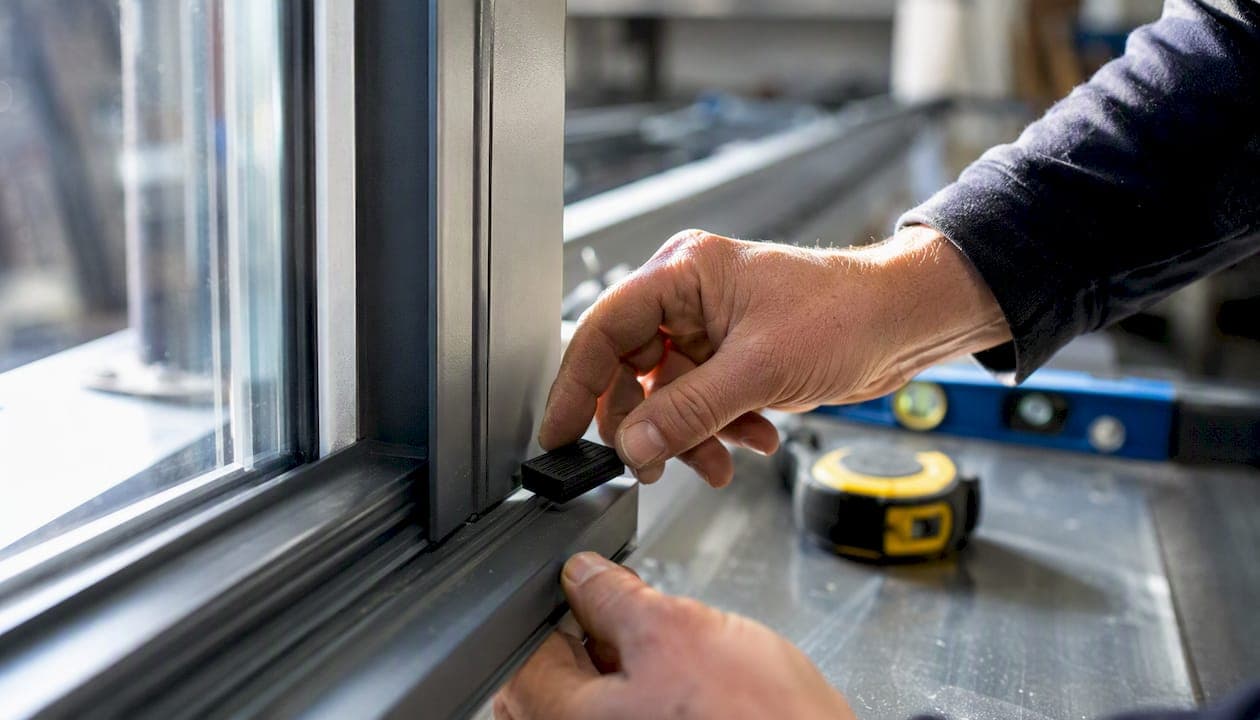
A window packer is a small setting block or shim placed between the glass unit and the frame rebate to support, space, and square the glazing during and after installation. According to the Glazing guide (Meridian BP), packers are the sole connection between the frame and the edge of the glass, performing three decisive functions:
- Load transfer: carrying the weight of the glazing unit down to the frame's structural bearing points
- Spacing and ventilation: keeping the glass clear of the rebate to allow drainage and compensate for vapour pressure
- Squaring and levelling: holding the unit parallel in the aperture so sashes operate correctly and edge seals remain intact
A baseline packer thickness is generally recommended for most double-glazed units, with thinner options allowed for smaller, lighter panes where rebate depth permits.
Key takeaways
Glazing packers are load-bearing, spacing, and squaring components: getting the material, thickness, and position right is the single most important factor in a long-lasting, watertight installation.
| Point | Details |
|---|---|
| Measure before you pack | Check the rebate gap with a calliper and match packer thickness exactly; 1–2 mm changes the glass position noticeably. |
| Match material to position | Use hard, low-creep HDPE setting blocks under load; reserve rubber or soft packers for side and top spacing only. |
| Support at bearing points | Place setting blocks at the quarter-points of the bottom rebate, never in the corners, to distribute weight correctly. |
| Never block drainage | Keep all packers clear of drainage slots and weep holes to prevent water ingress and edge seal failure. |
| Windowhardwarestore for trade supply | Windowhardwarestore stocks packers, gaskets, and related hardware with real-time availability and fast UK delivery. |
A fitter's view on getting packer choice right
The part of packer selection that catches people out is not the thickness calculation. Most fitters get that right. The problem is material choice under load. On a job I was consulted on recently, a bottom setting block made from a soft rubber compound had compressed by nearly 2 mm over two winters, dropping the unit enough to crack the edge seal on the latch side. The glass was fine; the seal was not. The repair cost more than the original installation.
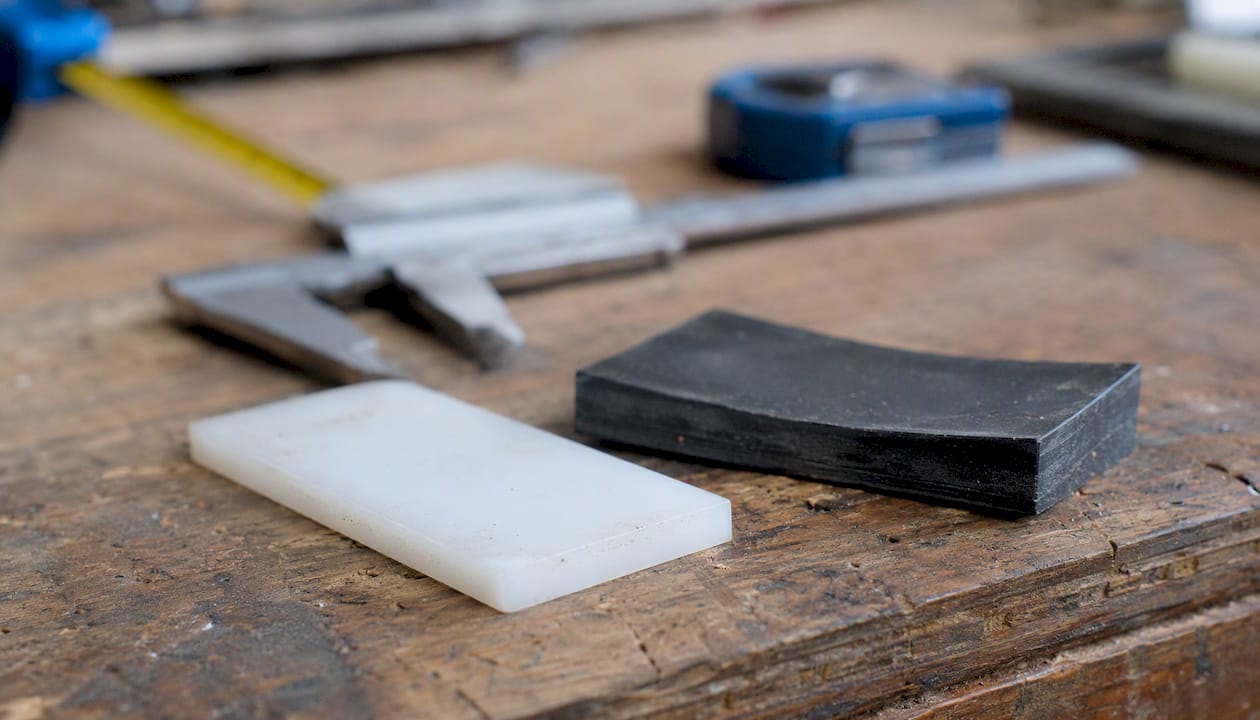
The non-obvious best practice is this: treat the bottom setting block as a structural component, not a shim. Choose it the way you would choose a fixing, not the way you would choose a spacer. Hard HDPE or TPR, rated for the unit weight, positioned at the quarter-points. Everything else is secondary.
And always photograph the packer positions before you bead up on a warranty job. That one habit has saved more callbacks than any other single practice.
Table of Contents
- Where should you place packers in a window frame?
- Step-by-step installation checklist for packers
- Are packers compatible with uPVC, timber, and aluminium frames?
- Common packing mistakes and how to fix them
- What tools and products do you need for packer work?
- The toe and heel technique: a detailed trade walkthrough
- Are packers always necessary, and what are the alternatives?
- Quality packers and glazing hardware, ready to ship
Material options and their trade-offs
| Material | Strengths | Limitations |
|---|---|---|
| Hard polyethylene (HDPE/TPR) | Dimensionally stable, UV-resistant, low creep | Less forgiving on uneven rebates |
| Rubber/elastomeric | Good vibration damping, slight compression | Can creep under sustained load; unsuitable under heavy glazing |
| Specialist self-locating | Stays in position without adhesive; suits sealant-free rebates | Higher unit cost; limited thickness range |
Typical thicknesses run from 1 mm to 6 mm, giving you the incremental control needed to fine-tune a gap without shimming multiple layers unnecessarily.
Pro Tip: Never use rubber packers as the sole load-bearing element under a heavy double-glazed unit. Rubber compresses over time, which allows the glass to settle and puts stress on the edge seal.
Where should you place packers in a window frame?
Correct placement is where many installations go wrong. The Double Glazing Blogger's trade guide stresses that incorrect placement leads to latent failures that only become visible after weathering.
Bottom edge: setting block positions
- Place two setting blocks on the bottom rebate, each positioned roughly one-quarter of the frame width in from each corner on a standard residential unit.
- Never place a setting block directly in the corner, as this concentrates load on the weakest point of the frame.
- Setting blocks must span the full thickness of the glazing unit, not just the glass pane.
Side and top positions
- Side packers sit at the top and bottom of each side rebate, again roughly a quarter of the frame length from the corner.
- Top packers are lighter-duty and primarily maintain the gap for sealant and weatherseal contact.
- Keep all packers clear of drainage slots and weep holes. A packer placed over a drainage channel defeats the vapour pressure compensation function entirely.
Toe and heel placement overview
For opening sashes, packers are arranged diagonally in a toe-and-heel pattern: one packer near the hinge side bottom (the "toe") and one near the latch side top (the "heel"), with the positions reversed on the opposite diagonal. This braces the sash against racking under its own weight.
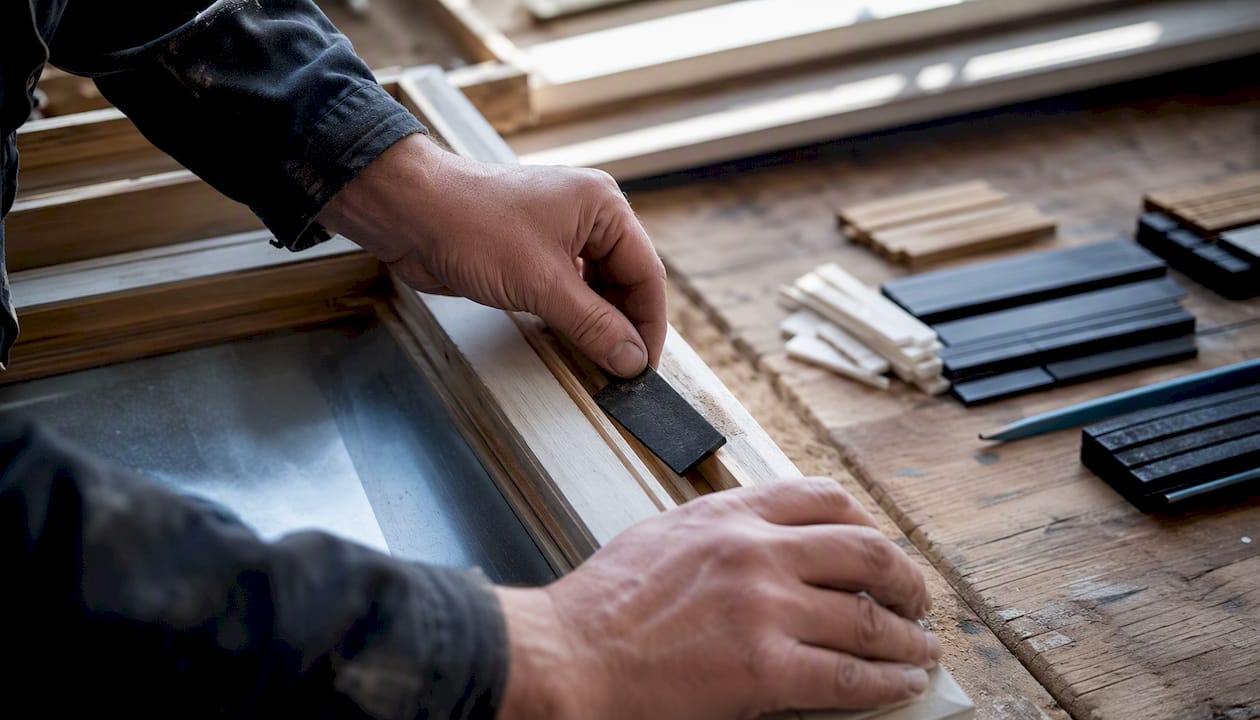
| Position | Packer type | Primary function |
|---|---|---|
| Bottom bearing (×2) | Setting block (load-rated) | Weight transfer |
| Side, top and bottom | Flat or horseshoe packer | Squaring and spacing |
| Diagonal (toe & heel) | Flat packer, wedge shim | Anti-racking, levelling |
Pro Tip: On sealant-free rebates, use self-locating packers or secure standard packers with a small dab of compatible adhesive. A loose packer that migrates during sealant application can block a drainage slot without you noticing.
Step-by-step installation checklist for packers
Tools and materials to have ready
- Assortment of flat packers and setting blocks (1 mm, 2 mm, 3 mm, 4 mm, 5 mm, 6 mm)
- Spirit level (600 mm minimum)
- Tape measure and pencil
- Suction cups for glass handling
- Gloves (cut-resistant)
- Small rubber mallet
- Packer gauge or vernier calliper
- Temporary restraint wedges or timber packers
Are packers compatible with uPVC, timber, and aluminium frames?
Frame material affects both the packer type you choose and the tolerances you are working within. Proplas's installation guidance lists packer placement among the essential steps for a compliant installation and recommends consulting supplier datasheets for compatibility and warranty.
uPVC frames
- Use hard polyethylene or HDPE packers; avoid rubber under load-bearing positions.
- uPVC frames have tight rebate tolerances, so stick to the manufacturer's specified packer widths.
- Check that packers do not bridge the internal drainage channels moulded into the rebate.
Timber frames
- Timber is more forgiving on tolerances but susceptible to moisture. Use packers that allow drainage and do not trap water against the timber.
- For heritage or older timber frames, refer to heritage window hardware guidance for compatibility notes on older rebate profiles.
- Avoid metal shims directly against timber; use plastic or rubber-faced packers to prevent galvanic corrosion where aluminium glazing beads are present.
Aluminium frames
- Aluminium frames often have narrower rebates. Measure carefully and use slim-profile packers where the rebate depth is restricted.
- Thermal break profiles may have internal cavities; confirm packer placement does not compromise the thermal break.
Composite frames
- Composite frames typically follow uPVC packer guidance. Always defer to the frame manufacturer's installation manual, as composite constructions vary widely between brands.
Pro Tip: Photograph the packer positions before applying sealant on every warranty job. If a callback arises six months later, that photo is your evidence that the installation was correct at handover.
Common packing mistakes and how to fix them
Even experienced fitters make these errors under time pressure. Catching them early saves a callback.
Signs of incorrect packing:
- Sash droops on the latch side and the handle is hard to engage
- Visible edge contact marks on the glass where it has rubbed the rebate
- Water ingress at the bottom corner of the rebate
- Misted double glazing from a failed edge seal, often caused by glass movement against the rebate
Common mistakes:
- Placing a packer directly over a drainage slot, blocking water escape
- Using a compressible rubber packer as the sole load-bearing element under a heavy unit
- Positioning setting blocks too close to the corners, concentrating stress on the frame
- Using packers that are narrower than the glazing unit thickness, so they bear on the glass face rather than the full edge
Repair steps for the most frequent issues:
- Sash droop: remove the glazing bead, reposition side packers to bring the unit back to plumb, re-test operation, then re-bead and reseal.
- Water ingress at the rebate: clear the drainage slots, reposition any packer blocking them, and reseal with a compatible sealant.
- Misted unit: the edge seal has failed. The unit needs replacing, not just repacking. Once the new unit is in, follow the full packing sequence from scratch.
For post-installation adjustments that go beyond repacking, window adjustment guidance for homeowners covers the next steps clearly.
If the frame itself has distorted or the sash is binding despite correct packing, call a specialist. Structural frame issues are outside the scope of packer adjustment.
What tools and products do you need for packer work?
A well-stocked trade van carries everything needed for most packing jobs without a trip to the merchant.
- Mixed packer assortment: flat packers in 1 mm, 2 mm, 3 mm, 4 mm, 5 mm, and 6 mm thicknesses
- Load-rated setting blocks in at least two widths (to match common glazing unit thicknesses)
- Horseshoe/slotted packers for quick adjustments around fixings
- Spirit level (600 mm)
- Tape measure and vernier calliper
- Suction cups (pair, rated for the heaviest unit you handle)
- Cut-resistant gloves
- Small rubber mallet
- Packer gauge or feeler gauge set
- Temporary restraint wedges
For a full equipment list covering glass replacement tasks, the glazing tools step-by-step guide at Windowhardwarestore covers the complete kit in detail. If you are newer to glazing work, the beginner's guide to glazing tools is a practical starting point.
For trade vans, buying mixed packer packs in bulk is more cost-effective than single-size packs. Look for product pages that list the material (HDPE, TPR, or rubber), the available thickness steps, and whether the packer is self-locating. Those three details tell you almost everything you need to know before ordering.
The toe and heel technique: a detailed trade walkthrough
The toe-and-heel method is the standard way to square an opening sash in its frame. Two independent video demonstrations, including this detailed on-site guide, consistently show the same sequence, which confirms it as the accepted trade approach.
- Initial support. Sit the unit on the bottom setting blocks. Do not release it until a second person or temporary restraint is in place.
- Toe placement. Insert a packer at the bottom of the hinge-side stile (the "toe"), positioned near but not right at the corner. This lifts the hinge side slightly.
- Heel placement. Insert a packer at the top of the latch-side stile (the "heel"), positioned near but not right at the corner. This brings the latch side up to match.
- Check diagonal. Measure the diagonals of the sash opening. They should be equal. If not, adjust the toe or heel packer by 1 mm increments until the diagonals match.
- Temporary restraint. Wedge the unit firmly before releasing any manual support. The packers alone are not sufficient restraint at this stage.
- Level and plumb check. Confirm with the spirit level on all four sides.
- Final packing before fixings. Add any remaining side and top packers to fill the gap evenly, then drive the fixings.
Common pitfalls on toe and heel:
- Placing the toe and heel packers too close to the corner concentrates stress and can crack the frame
- Using a single thick packer instead of building up in 1–2 mm increments makes fine adjustment nearly impossible
- Releasing the unit before temporary restraint is in place risks the glass shifting and the packers migrating
Pro Tip: When remedying a sagging sash on an existing installation, remove the glazing bead on the latch side first. You will usually find the heel packer has either compressed or migrated. Replace it with a fresh hard packer of the correct thickness, re-check the diagonals, and re-bead. The whole job takes under 30 minutes on a standard residential unit.
Are packers always necessary, and what are the alternatives?
The short answer is: for the vast majority of UK residential glazing installations, yes. The decision checklist below covers the exceptions.
When packers are required:
- Any glazed unit sitting in a rebate where the glass edge would otherwise contact the frame directly
- Opening sashes of any size, where squaring and anti-racking support are needed
- Units over 0.5 m² or any unit where the manufacturer's installation guide specifies packer positions
When you might not need standard packers:
- Some modern frames use compensated rebates with moulded-in bearing points that replace flat setting blocks. Check the frame manufacturer's guide before assuming standard packers apply.
- Engineered setting blocks or specialist bearing clips are specified for certain commercial and curtain-walling systems. These are not interchangeable with residential packers.
- Very small fixed lights in secondary glazing systems sometimes use purpose-made gasket systems that perform the spacing function without separate packers.
For large shopfronts, curtain walling, or structural glazing, the packing requirements move beyond the scope of standard residential packers. A specialist structural glazier or the system manufacturer should specify the bearing arrangement. Preparation guidance for window installation covers the pre-installation checks that help you identify when a job needs specialist input before you start.
Quality packers and glazing hardware, ready to ship
Getting the right packer for the job should not mean waiting days for a delivery or guessing at material specs from a vague product description. Windowhardwarestore carries a full range of glazing hardware, including gaskets, seals, and related components, all with real-time stock visibility so you know exactly what is available before you order.

Whether you are a glazier stocking a trade van or a homeowner tackling a single repair, the product pages at Windowhardwarestore list material type, thickness options, and compatibility notes clearly. Trade pricing is open to all customers, with no minimum order and fast UK-wide delivery. For complementary sealing products, the E015 E-type gasket and TW023 wedge gasket are stocked alongside the hardware range.
Browse the full range and place your order at Windowhardwarestore.
Useful sources and further reading
The sources below are worth bookmarking for load-critical or warranty-sensitive installations. Manufacturer datasheets are the controlling reference for load ratings and sealant compatibility; no guide, including this one, replaces them.
- Glazing guide (Meridian BP)
- Glazing packers | ShunTool
- Understanding the role of window packers in window installation (Smarty Technologies)
- Are you using the right packers to fix your windows? (Double Glazing Blogger)
- — YouTube
For load ratings and warranty compliance, always refer to the specific datasheet for the packer product you are using. Packaging claims and general guides give useful starting points; the datasheet is the binding specification.