
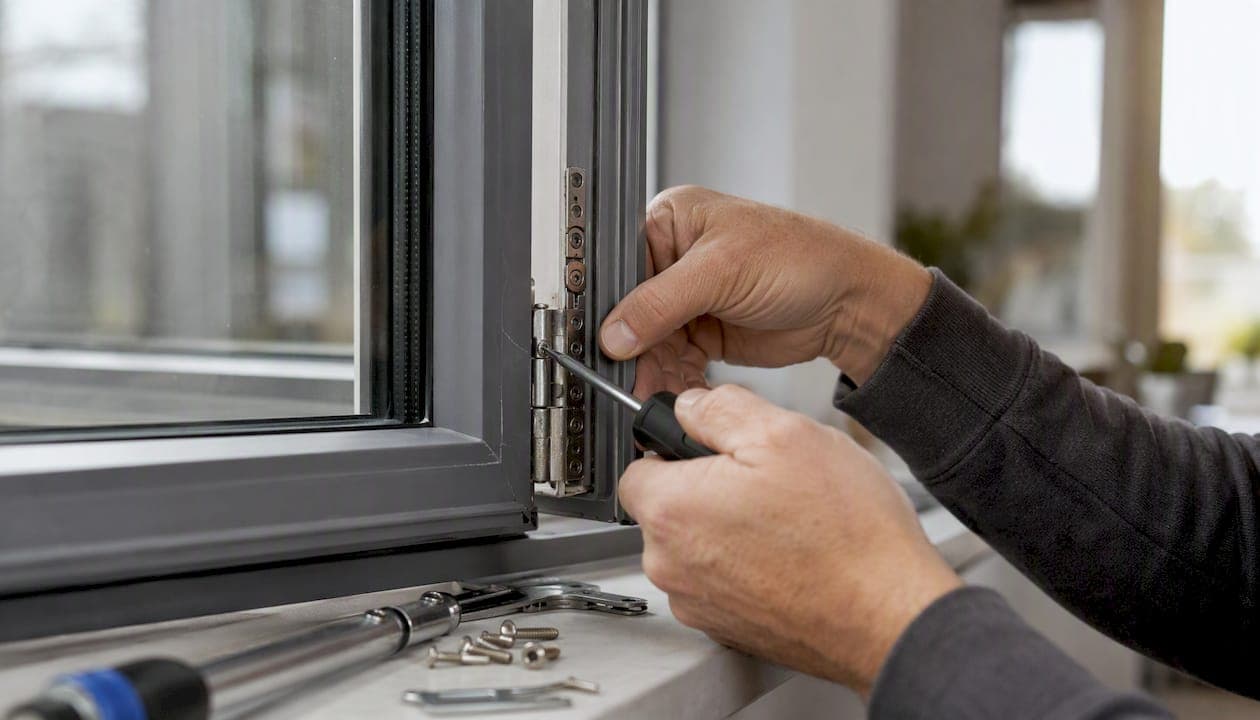
Window hinges sag for three main reasons: the hinge itself has worn or bent, the mounting screws have come loose or stripped their threads, or the window was installed with a frame or sash alignment error. For most uPVC and casement windows, the fastest first action is to tighten the top hinge screws and test whether the sash sits square again. If that does not resolve it, a friction-screw adjustment or a hinge replacement usually will.
Try these now:
- Tighten the top hinge screws a quarter-turn at a time, then open and close the sash to check alignment.
- Test the sash drop by lifting the free edge gently. If it moves more than 2mm, the hinge pivot is worn or the screws are loose.
Avoid this:
- Do not force a sash that is sticking or dragging. Forcing it can strip screw threads and crack the uPVC profile, turning a simple fix into a costly repair.
Key takeaways
Sagging window hinges are almost always caused by worn or bent hinge arms, loose or stripped mounting screws, or installation faults, and most uPVC casement issues can be resolved with a friction-screw adjustment or a like-for-like hinge replacement using correctly specified fixings.
| Point | Details |
|---|---|
| Diagnose before adjusting | Check for stripped screws, hinge-arm bend, and sash-play before touching the friction screw. |
| Use the right screw length | Short screws that miss the reinforcement bar are the most common cause of repeat sagging. |
| Adjust in small increments | A quarter-turn of the friction screw changes sash behaviour noticeably; over-correction accelerates wear. |
| Replace bent hinges outright | Once a hinge arm has plastically deformed, adjustment will not restore correct sash alignment. |
| Windowhardwarestore for parts | Stocks adjustable friction stays, stainless fixings, and gaskets with real-time availability and next-day UK delivery. |
Table of Contents
- How do you diagnose why your window hinge is sagging?
- What causes window hinges to sag?
- What tools and parts do you need for a hinge repair?
- How do you adjust or repair a sagging uPVC casement hinge?
- When does a hinge need replacing, and what does it cost in the UK?
- When is it safer to call a professional?
- Choosing the right replacement parts for a lasting repair
- A repair specialist's honest view on what most guides miss
- Order the right parts today from Windowhardwarestore
- Sources
How do you diagnose why your window hinge is sagging?
Run these four quick checks before reaching for any tools. Each one points to a specific fault.
Visual gap check. Stand back and look at the sash in the closed position. A gap at the top handle-side corner almost always means the top hinge has bent, its screws have loosened, or both. A gap running the full height of the sash suggests a warped frame or sash rather than a hinge fault alone.
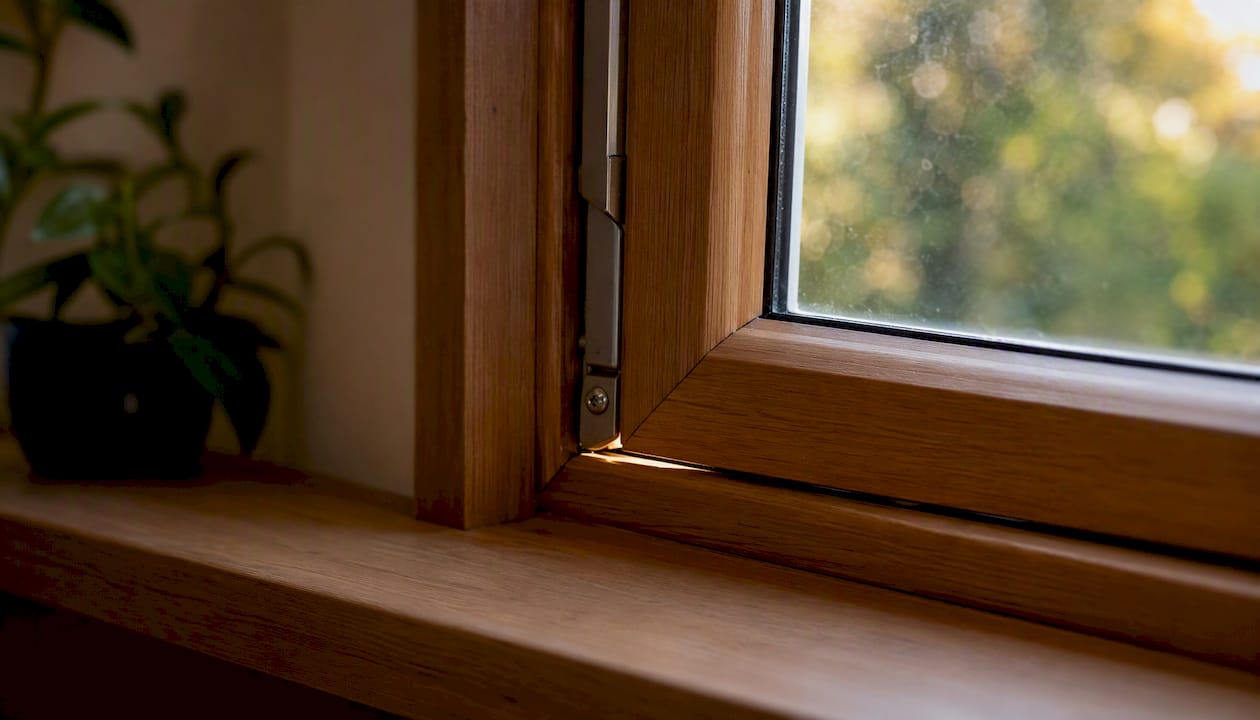
Handle and lock alignment test. Try to engage the handle and locking points. If the handle feels stiff or the locking cams do not seat cleanly, the sash has dropped or shifted out of plane. This is a reliable indicator of hinge wear or a loose bottom hinge. For more on how handle problems interact with hinge function, see window handles and locks.
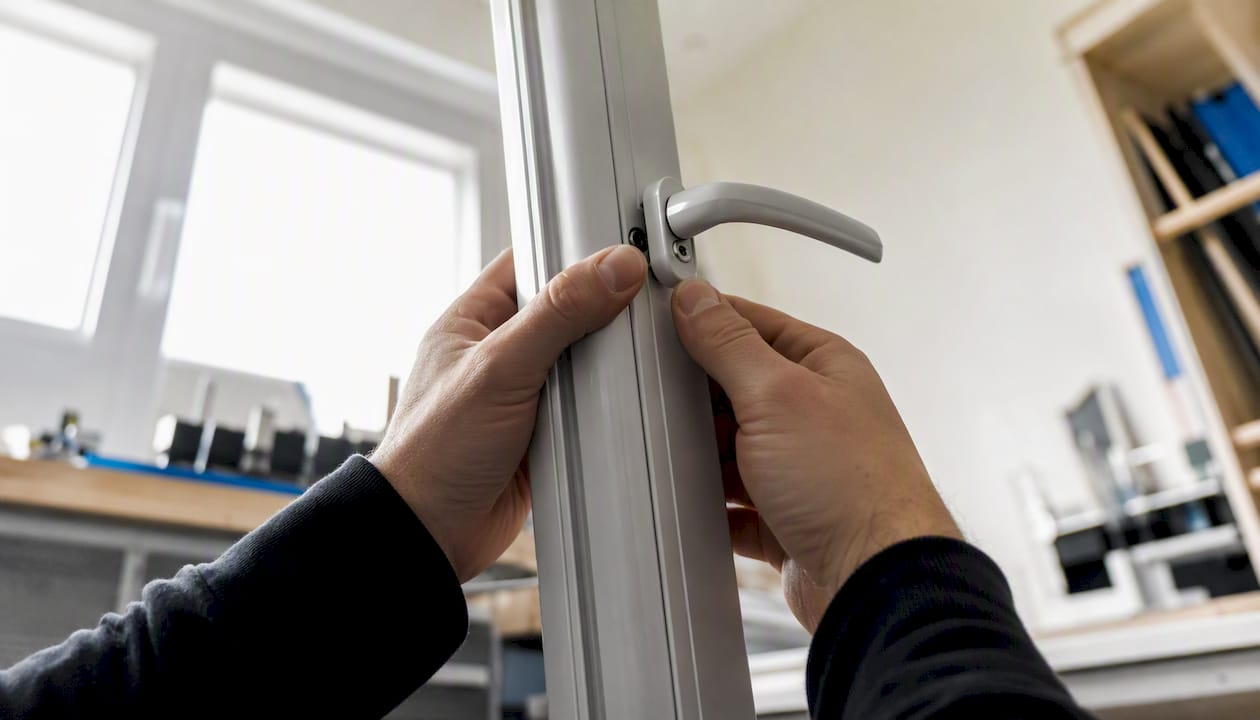
Hinge-play test. Open the sash to 90° and grip the free edge. Try to move it up and down and side to side. More than 1–2mm of play in the pivot indicates a worn or corroded hinge body rather than a screw problem.
Sash-stay test. Open the sash to a mid position and let go. If it drifts closed or falls open under its own weight, the friction stay has lost tension. This is a separate fault from sagging but often appears alongside it.
- Stripped screw holes: look for paint or sealant pushed out around the screw head, or a screw that turns without biting.
- Hinge deformation: sight along the hinge arm. Any visible bow or twist means the metal has plastically deformed.
- Protective film residue: if the window is relatively new and screws keep loosening, check whether a thin plastic film was left on the profile under the hinge plate. This is a common but easy-to-miss installation fault.
Pro Tip: Take a photo of the closed sash from outside before you touch anything. The gap pattern tells you at a glance which hinge is at fault and in which direction the sash has moved, saving time when you come to adjust.
What causes window hinges to sag?
Understanding the root cause saves you from fixing the wrong thing. Here are the most common causes, how they develop, and what they look like.
-
Hinge wear and metal fatigue. Every opening cycle puts load on the pivot and arm. Over years, the metal fatigues, the pivot becomes sloppy, and the arm may develop a slight bow. Bent hinge arms and metal fatigue are a common reason a sash fails to sit flush, and once the metal has plastically deformed, adjustment alone will not correct it.
-
Loose or stripped mounting screws. Vibration, thermal cycling, and repeated slamming gradually back screws out of their holes. Once a screw strips its thread in the uPVC profile, it can no longer clamp the hinge plate flat, and the sash begins to drop.
-
Wrong screw length or diameter. Short screws engage only the outer skin of the profile rather than the reinforcement bar inside. They pull out under load, often within months of installation. Technical guidance confirms that incorrect screw length is one of the most common installation mistakes accelerating hinge failure.
-
Protective film left on the profile. A thin plastic film is factory-applied to uPVC profiles to prevent scratching during transit. If it is not removed before fitting the hinge, it compresses over time, causing the hinge plate to rock and screws to loosen progressively.
-
Poor installation alignment. If the hinge mounting planes are not co-planar at installation, the hinge arm is under constant stress every time the sash opens. This accelerates fatigue and can cause the arm to bend within a few years.
-
Sash or frame warping. Timber frames absorb moisture and move seasonally. uPVC frames can bow if they were installed without adequate packers or if the reinforcement steel is undersized. A warped sash produces a gap that no amount of hinge adjustment will fully close.
-
Corrosion. Steel hinges in exposed or coastal locations can rust at the pivot, causing stiffness that leads homeowners to force the sash, bending the arm in the process.
-
Wind or impact damage. A sash caught by a strong gust while open can overload the hinge arm in a single event, bending it permanently.
-
Seal compression issues. Worn or compressed gaskets reduce the closing resistance the hinge was designed to work against, altering the load distribution and sometimes causing the sash to sit proud on one side.
| Cause | Visible signs | Usual fix |
|---|---|---|
| Hinge wear / bent arm | Gap at top corner, uneven arc when opening | Replace hinge |
| Loose / stripped screws | Screw turns freely, sash drops gradually | Re-fix with longer screws or filler |
| Wrong screw length | Screws pull out under light load | Replace with correct-length fixings |
| Protective film residue | Hinge plate rocks, screws keep loosening | Remove film, refit hinge |
| Poor installation alignment | Persistent stress crack near hinge plate | Repack and realign hinge |
| Sash / frame warping | Full-height gap, gap changes with seasons | Repack frame or replace sash |
| Corrosion | Stiff pivot, rust staining | Replace hinge |
| Wind / impact damage | Sudden onset, visible bend in arm | Replace hinge |
| Seal compression | Sash sits proud on latch side | Replace gasket |
What tools and parts do you need for a hinge repair?
Having the right kit before you start means you can complete most repairs in a single session.
Tools:
- 4mm and 5mm Allen keys (for friction-screw adjustment on uPVC casements)
- Torx T20 and Phillips PH2 screwdrivers
- Cordless drill with a clutch setting (prevents over-driving screws)
- Screw extractor set (for stripped or seized fixings)
- Feeler gauge (to measure sash gaps accurately)
- Spirit level (to check sash plumb and level)
- Marker pen (to record original hinge positions before adjustment)
- Silicone-based lubricant or light machine grease
Parts to have ready:
- Adjustable friction stays or side-hung friction hinges rated for your sash weight
- Stainless steel or zinc-plated screws in the correct length to reach the profile reinforcement bar (typically 35mm–50mm for uPVC)
- Hinge shims or packers (to correct minor misalignment without full rehang)
- Replacement E-type or wedge gaskets if the seal has compressed or torn during adjustment
When ordering hinges, check the product page for: weight rating in kg (match or exceed your sash weight), material and corrosion resistance, adjustability range (vertical and horizontal), and the screw thread specification. Windowhardwarestore's window hinges guide covers what to look for when selecting durable replacements.
How do you adjust or repair a sagging uPVC casement hinge?
Work through these steps in order. Do not skip ahead; each step confirms whether the next is necessary.
Before you start: close and lock the handle to hold the sash in position. If the sash is large or heavy, ask someone to support the free edge while you work. Place a folded cloth or timber offcut on the sill below the sash as a precaution.
-
Check and tighten all mounting screws. Using the correct screwdriver, tighten every hinge screw a quarter-turn. Do not over-drive. If a screw spins freely, the hole is stripped. Fill it with a wooden toothpick and wood glue, allow to cure, then re-drive the screw.
-
Test pivot play. With the sash open, grip the free edge and check for movement at the hinge pivot. If play remains after tightening screws, the hinge body is worn and will need replacing.
-
Adjust vertical alignment. Many uPVC friction hinges have a slotted adjustment block on the frame-side plate. Loosen the retaining screw, slide the block up or down to raise or lower the sash, then re-tighten. Mark the original position with a marker pen before moving it.
-
Adjust friction and compression. Locate the friction screw on the hinge arm, usually a small hex socket. Trade guidance recommends using a 4mm–5mm Allen key and making small, matched adjustments on both hinges. Clockwise increases friction (sash holds position better); anticlockwise reduces it. For detailed friction-hinge adjustment steps, the Windowhardwarestore guide on adjusting friction hinges is worth reading alongside this.
-
Replace the hinge if bent or worn. If the arm is visibly bowed or the pivot remains sloppy after tightening, remove the hinge completely. Inspect the profile underneath for protective film residue and remove it if present. Fit the new hinge, starting screws by hand to avoid cross-threading, then tighten in a diagonal sequence to spread the load evenly.
-
Final alignment and lock test. Close the sash and engage the handle. Check the gap is even on all four sides. Test the locking points. If the lock cams are still misaligned after hinge adjustment, the keep (striker plate) may need repositioning by 1–2mm.
Pro Tip: Always adjust in small increments and test after each one. A single quarter-turn of a friction screw can make a noticeable difference. Over-correcting and then correcting back introduces wear faster than the original fault did.
Troubleshooting branch: if tightening screws improves the sash position but it still sags within a few weeks, the hinge arm has a hairline bend that is not visible to the naked eye. Replace the hinge rather than continuing to adjust.
When does a hinge need replacing, and what does it cost in the UK?
Some faults cannot be adjusted away. Replace a hinge when you see any of the following:
- A visible bow or twist in the hinge arm
- Cracked or elongated screw holes in the hinge plate
- A seized or corroded pivot that will not free up with lubrication
- Missing or sheared rivets in the hinge body
- Persistent sash drop that returns within weeks of adjustment
When choosing a replacement, match the weight rating to your sash (weigh it by supporting it on bathroom scales while unhinged, or estimate from the glass area and frame profile). Prefer stainless steel or hot-dip zinc-plated finishes for longevity, particularly in coastal or high-humidity locations. Check that the replacement offers the same adjustability range as the original so you can fine-tune after fitting. For timber sash windows with more significant structural issues, specialist sash refurbishment may be the more appropriate route.
Typical UK costs and times:
- Single hinge replacement (parts only): £10–£35 depending on type and weight rating
- Full set of hinges (pair): £20–£70
- DIY time for a single hinge swap: 30–60 minutes for a competent DIYer
- Trade labour for a hinge replacement: typically £60–£120 per window, depending on location and access
Before ordering, measure and note:
- Estimated sash weight in kg
- Hinge mounting hole spacing (centre to centre)
- Screw hole diameter and the depth to the reinforcement bar
- Frame material (uPVC, aluminium, or timber) and colour if matching matters
When is it safer to call a professional?
Most single-hinge adjustments on a ground-floor window are well within DIY reach. Some situations are not.
- Always support heavy sashes. A sash weighing more than 25kg should not be worked on alone. The risk of it falling is real and the injuries can be serious.
- Use a stable platform. For first-floor or higher windows, HSE guidance on working at height requires a stable platform, secured ladder, and a second person where practicable. A stepladder leaning against a window frame is not a stable platform.
- Call a professional when: the frame shows rot or structural damage, multiple screw holes have stripped and cannot be re-fixed, the uPVC profile is cracked near the hinge mount, or the hinge fracture suggests metal fatigue across the full arm width.
- Ventilation matters too. A sagging sash that no longer seals correctly affects indoor air quality and energy performance. Approved Document F sets out ventilation requirements for dwellings; a window that cannot close properly may breach those requirements in a rented property.
A competent window installer or FENSA-registered contractor can assess whether the frame itself needs attention, which is beyond the scope of hinge adjustment alone.
Choosing the right replacement parts for a lasting repair
The quality of the replacement hinge matters as much as the adjustment technique. A cheap, under-rated hinge fitted to a heavy sash will sag again within a year.
What to look for:
- Weight rating: always match or exceed the sash weight. Most domestic casement sashes fall in the 10–30kg range; check the product specification before ordering.
- Corrosion resistance: stainless steel or zinc-plated finishes are the minimum for UK conditions. Marine-grade stainless is worth the extra cost in coastal areas.
- Adjustability: choose hinges with built-in vertical and horizontal adjustment so you can fine-tune after fitting without shimming.
- Screw specification: long-thread fixings that reach the reinforcement bar inside the profile are non-negotiable. Short screws are the single most common cause of repeat sagging.
Windowhardwarestore stocks adjustable friction stays, stainless adjustable butt hinges, and long-thread fixings alongside E-type gaskets and wedge gaskets for resealing after alignment. The range covers uPVC, aluminium, and timber applications, with real-time stock visibility so you know what is available before you order.
Pro Tip: When replacing hinges on a uPVC casement, replace the gasket at the same time. A realigned sash compresses the seal differently, and an old gasket rarely seats correctly after the sash position has changed.
For guidance on finding the correct butt hinge size and screw specification, the Windowhardwarestore article on replacing old butt hinges walks through the measurement process clearly.
A repair specialist's honest view on what most guides miss
The single most underestimated cause of repeat hinge sagging is not the hinge itself. It is the screw. Specifically, it is the combination of a screw that is 10mm too short and a hole that was drilled without locating the steel reinforcement bar inside the profile. The screw bites into foam-filled uPVC, holds for six months, and then pulls out under the cumulative load of daily use. The homeowner tightens it, it holds for another few months, and the cycle repeats. The fix is not a longer tighten; it is a longer screw.
The second thing most guides skip is the protective film issue. Factories apply a thin plastic film to uPVC profiles before shipping. Installers are supposed to remove it before fitting hardware. When they do not, the film compresses slowly under the hinge plate, creating a microscopic rocking motion that backs screws out over months. If you have a relatively new window with screws that keep loosening for no obvious reason, remove the hinge completely and look at the profile surface underneath. You will often find a faint film outline.
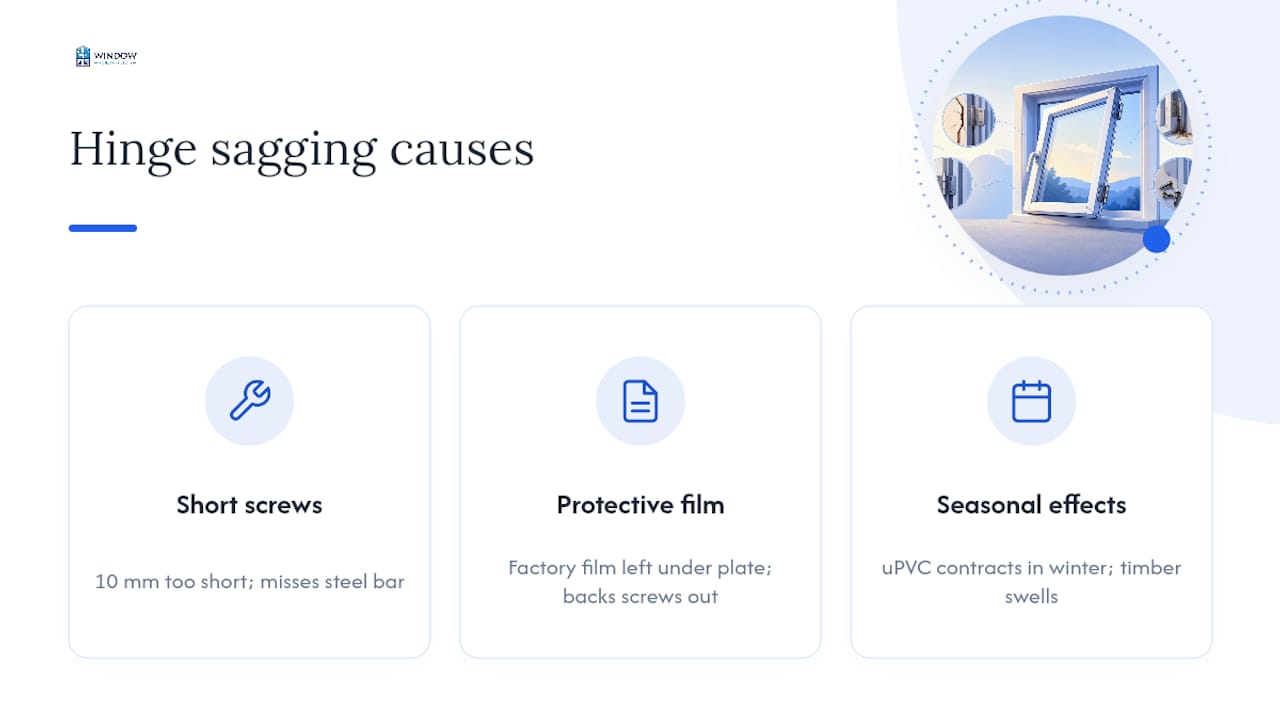
On environmental factors: UK winters cause uPVC to contract and timber to absorb moisture and swell. A window that closes perfectly in August may drag in January. Before assuming a hinge fault, check whether the problem is seasonal. If it is, the frame may need repacking rather than the hinge replacing. A simple maintenance check each spring and autumn, including lubricating pivot points and checking screw torque, prevents most of the faults described in this guide from developing in the first place.
Order the right parts today from Windowhardwarestore
Fixing a sagging hinge is straightforward once you have the correct parts in hand. Windowhardwarestore gives you direct access to adjustable friction stays, stainless butt hinges, long-thread fixings, and replacement gaskets, all with real-time stock visibility and trade pricing open to every customer, with no minimum order.

Have your sash weight estimate, hinge hole spacing, and screw length measurement ready before you order. The product pages list weight ratings and screw specifications clearly, so you can confirm the right fit before checkout. If you are unsure which hinge type suits your window, the support team can help you identify the correct size and rating. Visit Windowhardwarestore to browse the full range and place your order with next-day UK delivery available on stocked items.
Sources
- Hse
- Gov
- Bent window hinges: How to fix them and when they need replacing | Totalseal Repairs
- 5 Common Installation Mistakes That Cause Window Hinge Failure - Windoors Hardware
- Fix a stiff or loose window in 2026 | Axiom Eco Homes
Recommended
- How to Adjust Friction Hinges for Smooth Window Operation | Window Hardware Store | Window Hardware Store
- Replacing Window Handles: Why Handles Go Stiff and How to Fix It | Window Hardware Store | Window Hardware Store
- Easy Clean Window Hinges | Window Hardware Store | Window Hardware Store
- Replacing Window Handles: Fixing a Loose Handle as You Go | Window Hardware Store | Window Hardware Store