
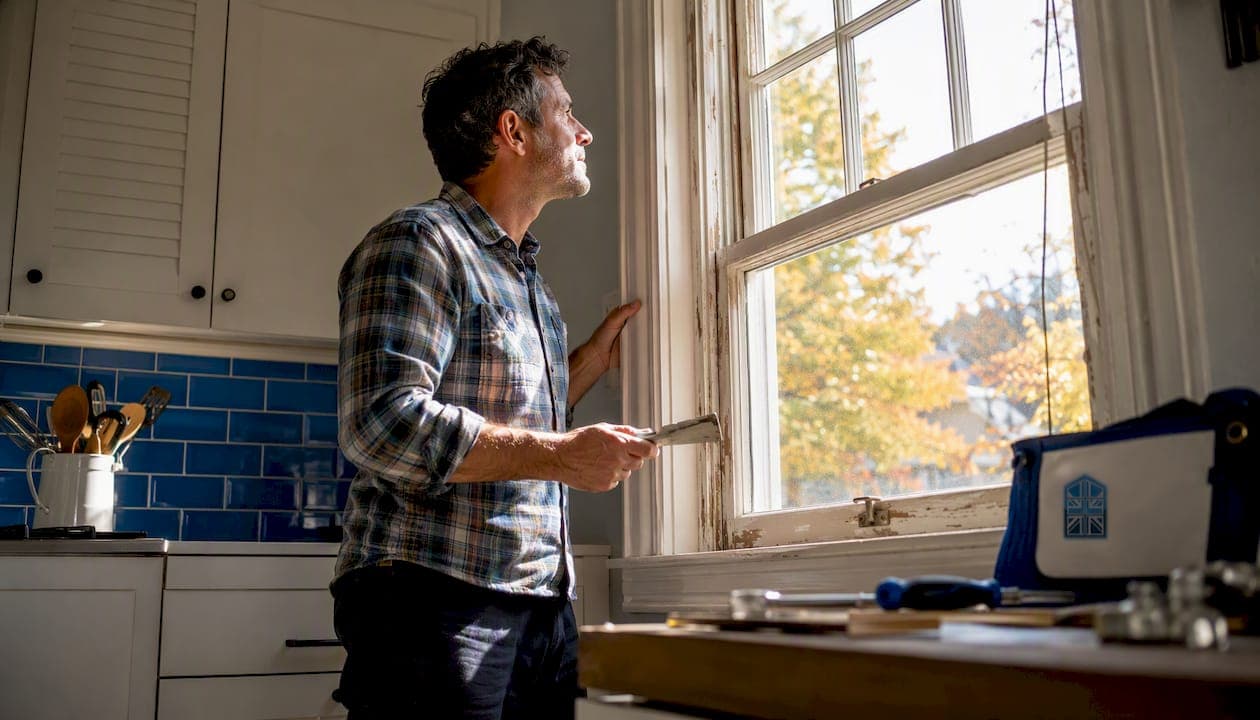
Most stuck sash windows come down to one of three things: paint build-up that has fused the sash to its frame, timber swelling from seasonal moisture, or a mechanical failure such as a worn cord, seized pulley, or compressed bead. Paint build-up accounts for roughly 80% of stuck sash cases, so that is the first place to look.
Before you do anything else, here is what matters:
- Do not force the sash. SPAB guidance is clear: forcing a stuck sash risks structural damage to the joinery and the glazing. One firm shove can crack a pane or split a tenon joint.
- Start with visual checks — look at the paint line around the sash perimeter, the glazing putty, and the staff beads before reaching for any tool.
- Try reversible fixes first: score the paint line with a thin blade, clean the channels, and apply paste wax. These cost almost nothing and rarely cause damage.
- Stop immediately if you see rot, snapped cords, or a warped frame. Sash weights are heavy, glass is fragile, and a sash without working counterweights can drop without warning. Call a specialist for anything structural.
Pro Tip: Before any repair, open a window in the same room to equalise air pressure. A pressure difference across the sash can make a mildly sticking window feel completely jammed.
Table of Contents
- Why do sash windows stick? The main causes explained
- How to diagnose where and why your sash is binding
- Practical DIY fixes, from easiest to hardest
- Why windows stick seasonally and how to prevent it
- When should you stop DIYing and call a professional?
- Tools and materials you need for sash window repairs
- Key takeaways
- The case for doing less, not more
- Get the right parts from Windowhardwarestore
- Useful sources
Why do sash windows stick? The main causes explained
Understanding the cause is what separates a five-minute fix from an expensive mistake. These are the six most common reasons a sash binds.
Paint build-up and painted-shut sashes
Repeated overpainting is the single most prevalent cause of sash window problems, as explained in detail in paint adhesion for siding. Each coat adds a fraction of a millimetre to the sash edges and the surrounding stops. Over years, those layers bridge the gap between the sash and the frame entirely, effectively gluing the window shut. The problem is worse at the bottom rail and along the vertical stiles, where paint pools and dries under compression.
Timber swelling from humidity
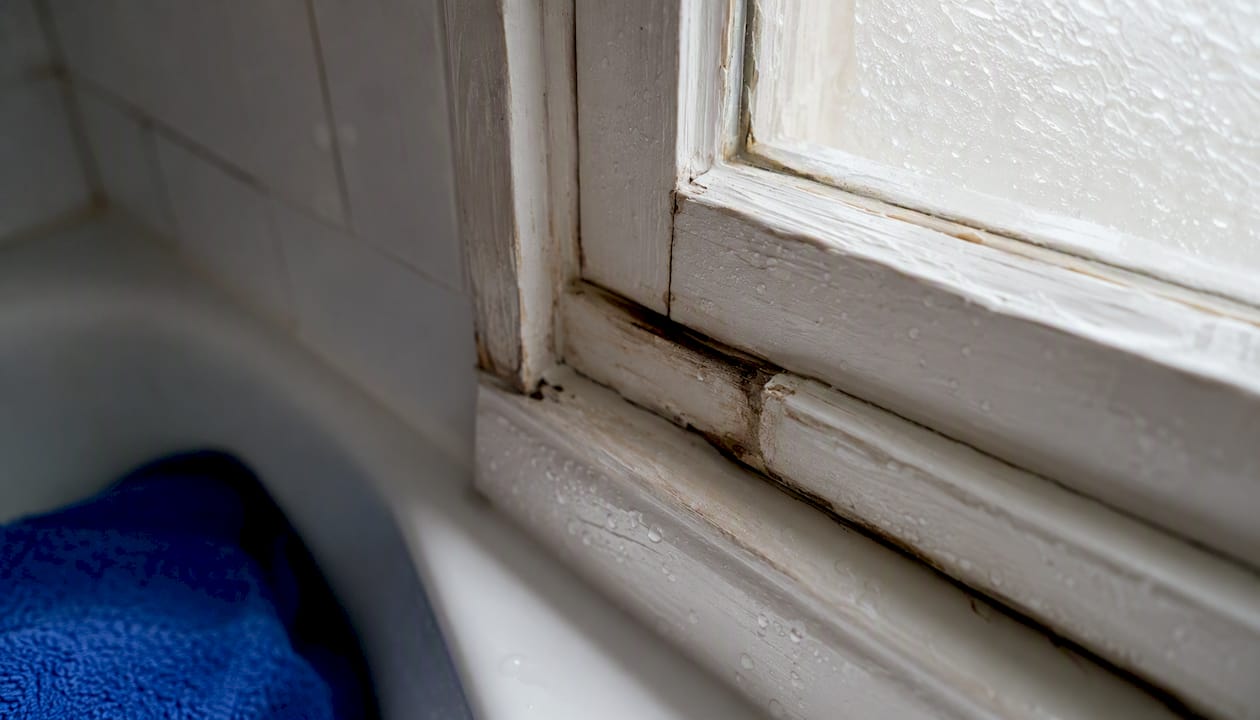
Timber is hygroscopic: it absorbs moisture from the air and expands, then contracts again as conditions dry out. Kitchens, bathrooms, and north-facing rooms are particularly prone because humidity stays high for longer. Seasonal sticking that eases in summer and returns in winter is almost always timber movement rather than paint lock.
Worn, frayed, or broken sash cords
Sash cords connect the sash to cast-iron counterweights hidden inside the box frame. When a cord frays or snaps, the sash loses its counterbalance and either drops, jams at an angle, or becomes too heavy to lift smoothly. Industry practice recommends replacing all cords on the same window when one shows severe wear, because cords of the same age tend to fail close together.
Compressed or misaligned beads
Parting beads and staff beads that have been painted over or compressed by a settling frame can squeeze the sash from both sides, creating constant friction even when the sash itself is in perfect condition. Replacing or reprofiling the bead is often the correct fix, not planing the sash. — Craftsman Charm
This is one of the less obvious causes, and it catches many homeowners out. The sash looks fine; the problem is the channel it runs in.
Seized hardware and debris in weight pockets
Pulleys corrode and seize, catches bend out of alignment, and debris accumulates in the weight pockets over decades. A seized pulley creates a hard stop mid-travel. Bent sash pins or catches can lock the sash in the closed position even when the paint line is clean. Checking sash window lock problems is worth doing early in the diagnostic process.
Glazing putty failure, rot, and moisture ingress
Cracked or missing putty lets rainwater into the rebate and directly into the end grain of the timber. Once moisture gets in, the sash swells from the inside out. Left long enough, this leads to rot, which causes permanent distortion and recurring sticking regardless of how many times you plane the edge. Many cases that look like age-related failure are actually preventable maintenance failures: a cracked putty line is the starting point, not the end result.
How to diagnose where and why your sash is binding
Work through these checks in order. None of them require removing the sash or using power tools.
- Look at the paint line. Run your eye around the full perimeter of the sash. A continuous paint film bridging the gap between sash and stop is the clearest sign of paint lock.
- Check the glazing putty. Cracked, shrunken, or missing putty around the glass is a sign that moisture has been entering the rebate. Look for water staining on the sill and the lower rail.
- Test where the binding starts. Does the sash stick immediately, mid-travel, or only when fully closed? Binding at the very start usually means paint lock or a compressed bead. Binding mid-travel often points to a swollen section of timber. Sticking only when closed can indicate a bent catch or sash pin.
- Check the balance. Lift the lower sash a few centimetres. It should feel light and stay where you put it. If it feels very heavy, a cord is likely broken or severely worn. If it tilts to one side, one cord has failed and the other has not.
- Probe the staff beads. Slide a thin putty knife along the joint between the sash and the staff bead. Totalseal Repairs recommends this as a reliable way to feel where paint is sealing the joint without forcing the sash.
- Inspect the pulleys. Look at the pulley wheels at the top of the frame. A pulley that does not spin freely when touched with a finger is seized and will need freeing or replacing.
Tools for diagnosis: a thin-bladed putty knife, a torch, a moisture meter (optional but useful), and a pair of gloves. That is all you need for a full non-destructive assessment.
Pro Tip: Shine a torch along the sash edge at a low angle. Paint bridging shows up clearly as a continuous film; a gap shows as a thin line of light. This takes ten seconds and confirms paint lock before you do anything else.
Practical DIY fixes, from easiest to hardest
Start at the top of this list and work down. Stop when the sash moves freely.
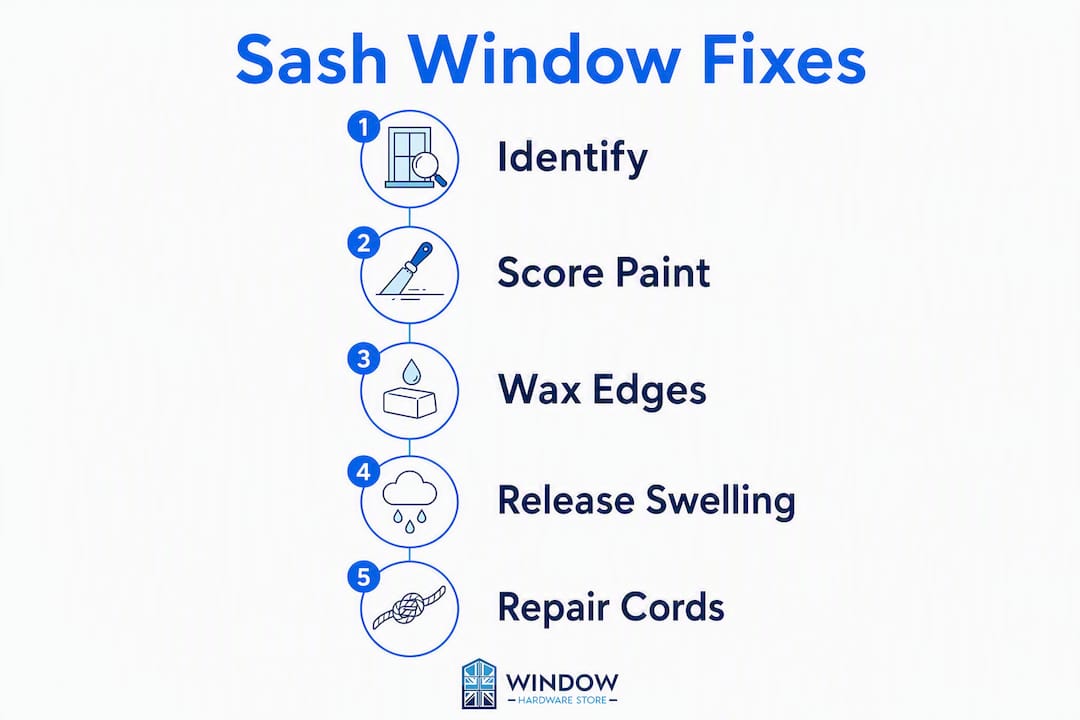
Scoring the paint line (easy)
Run a sharp utility knife or thin-bladed putty knife along the joint between the sash and the stop, pressing firmly enough to cut through the paint film. Work around the full perimeter. Then try the sash. This single step frees the majority of painted-shut windows without any further work.
After scoring, clean the channel with a dry cloth and apply a thin coat of paste furniture wax to the sash edges and the channel faces. Paste wax repels moisture and reduces friction without attracting dust. Avoid oils and greases entirely: they attract fine dust and form an abrasive paste that worsens binding over time. For more on choosing the right lubricant for window hardware, the guidance on window handle maintenance covers the same principles.
Easing a swollen sash (medium)
If scoring the paint line does not free the sash, the timber itself is likely swollen. Identify the binding point by sliding a piece of card around the sash perimeter: where it meets resistance is where you need to work.
- Remove the staff bead carefully using a thin chisel (it is usually pinned, not glued).
- Lift the sash out of the lower channel.
- Sand or lightly plane the binding edge, removing no more than 1–2 mm at a time.
- Seal the exposed timber immediately with a penetrating sealer or boiled linseed oil, then prime and repaint before reinstalling. Bare end grain re-absorbs moisture within hours.
- Refit the sash and test before replacing the staff bead.
When prying the sash free, apply gentle pressure at the bottom of the vertical stiles and distribute it along the length rather than levering at a single point. Concentrated leverage cracks glass and splits tenon joints.
Cord and pulley repairs (hard)
| Fix | Difficulty | Tools needed | Safety note |
|---|---|---|---|
| Free a seized pulley | Medium | Screwdriver, penetrating lubricant, paste wax | Sash must be supported while pulley is worked |
| Re-knot a cord at the sash | Medium | Cord, bradawl, screwdriver | Check cord condition along full length first |
| Full cord replacement | Hard | Sash cord (waxed cotton, 8–9 mm), screwdriver, thin batten | Remove sash carefully; weights are heavy |
| Replace pulley wheel | Hard | Matching pulley, screwdriver, chisel | Sash must be fully removed and supported |
A full cord replacement means removing the sash, accessing the weight pocket through the pocket cover, and threading new cord over the pulley and down to the weight. If you are not confident working with a heavy sash unsupported, this is the point to call a joiner.

Why windows stick seasonally and how to prevent it
Timber expands as it absorbs moisture and contracts as it dries. In a typical UK year, sashes are tightest in late autumn and winter when indoor heating raises relative humidity and outdoor rain keeps the frame damp. They tend to ease by late spring. If your window only sticks in winter, seasonal swelling is almost certainly the cause rather than paint lock or a mechanical fault.
Kitchens and bathrooms are high-risk year-round because humidity stays elevated regardless of season. Parsons Joinery notes that lack of maintenance and poor repainting practice are frequent root causes, not just age.
Preventive steps to build into your routine:
- Repaint in thin coats and cut back to the rebate line. Never paint across the gap between sash and stop. Use a cutting-in brush and keep paint off the channel faces entirely.
- Aim for 2–3 mm clearance between the sash edge and the frame. This is the traditional tolerance for painted timber sashes and gives the timber room to move seasonally without binding.
- Check and repair glazing putty every two to three years. Cracked putty is the entry point for moisture. Repoint with linseed oil putty or a flexible exterior sealant before it fails completely.
- Seal any sanded or planed timber immediately. Exposed end grain re-absorbs moisture rapidly; prime and paint within 24 hours.
- Operate the sashes regularly, even in winter. A sash that sits closed for months is more likely to paint-lock and more likely to swell without anyone noticing.
Pro Tip: Each spring and autumn, wipe the channels with a dry cloth and reapply paste wax. This takes five minutes per window and is the single most effective thing you can do to prevent recurring sticking. Consistent window stay maintenance follows the same logic.
When should you stop DIYing and call a professional?
Some repairs are straightforward; others carry real risk of making things worse or causing injury. Use this checklist to decide.
Stop and call a specialist if you find any of the following:
- Soft, discoloured, or crumbling timber around the sill, lower rail, or frame joints — this is rot, and it needs a joiner, not sandpaper.
- A sash that drops under its own weight when released, or tilts sharply to one side — both indicate a snapped cord, and the sash can fall without warning.
- A permanently warped or bowed frame that no amount of planing will correct.
- Glazing that is cracked, loose, or has failed putty on multiple sides — working around fragile glass at height is a specialist job.
- Any sign of structural movement in the surrounding masonry or lintel.
What a professional will typically do: remove the sash safely, replace all cords and pulleys in the same window, repair or replace rotten sections, refit or replace parting and staff beads, and repaint correctly. For a listed or period property, a specialist familiar with heritage sash window hardware is worth seeking out.
Typical UK cost ranges (ballpark expectations, not quotes):
- Scoring and waxing a painted-shut sash: £30–£80 if done by a tradesperson, or near-zero DIY.
- Planing, sealing, and repainting a swollen sash: £80–£200 depending on access and condition.
- Full cord replacement (both cords, one sash): £150–£350 per window, depending on access and frame condition.
- Rot repair or partial timber replacement: £300–£800+, depending on extent.
Tools and materials you need for sash window repairs
Essential tools:
- Thin-bladed putty knife or utility knife (for scoring paint lines and removing beads)
- 80–120 grit sandpaper and a sanding block (for easing swollen edges)
- Small shoulder plane or cabinet scraper (for precise timber removal)
- Screwdrivers (flat and cross-head) for pulley covers and pocket plates
- Torch and moisture meter for diagnosis
Consumables and replacement parts:
- Paste furniture wax — the preferred lubricant for channels, sash edges, and beads. Apply sparingly with a cloth.
- Waxed cotton sash cord, typically 8–9 mm diameter. Measure the existing cord before ordering; pre-waxed cord lasts significantly longer than unwaxed alternatives.
- Replacement pulleys — match the bore size and wheel diameter of the existing fitting.
- Sash pins and catches — check the profile and fixing centres before ordering.
- Glazing putty — traditional linseed oil putty for period windows; flexible exterior sealant for modern timber frames.
- Penetrating sealer or boiled linseed oil — for sealing exposed end grain after any sanding or planing.
On lubricants: paste wax and specialist dry sash lubricants are the correct choices. Standard oils and greases attract fine dust, which mixes into an abrasive paste in the channel and accelerates wear. The same principle applies to catches and handles — see the guidance on window handles and locks maintenance for more detail.
Windowhardwarestore stocks trade-grade sash hardware including pulleys, sash pins, and gaskets, with real-time stock visibility and fast UK delivery for both homeowners and trade professionals.
Key takeaways
Paint build-up causes the majority of stuck sash windows; start with a scored paint line and paste wax before attempting any timber removal or mechanical repair.
| Point | Details |
|---|---|
| Don't force the sash | Forcing risks cracked glass and split joints; always diagnose before applying pressure. |
| Paint lock is the most common cause | Roughly 80% of stuck sash cases trace back to paint build-up fusing the sash to its frame. |
| Reversible fixes come first | Score the paint line and apply paste wax before sanding, planing, or removing any timber. |
| Call a professional for rot or snapped cords | Soft timber, a dropping sash, or a tilting sash are signs to stop DIYing immediately. |
| Windowhardwarestore for parts | Stocks waxed sash cord, pulleys, sash pins, and gaskets with trade pricing and fast UK delivery. |
The case for doing less, not more
There is a tendency, when a sash window refuses to budge, to reach for the biggest tool available. A mallet, a screwdriver used as a lever, a belt sander on the edge. Every one of those instincts tends to make the problem worse.
The windows that end up needing expensive professional restoration are rarely the ones that were left alone too long. They are usually the ones that were forced, over-planed, or lubricated with WD-40 until the channels were clogged with dust and the timber had been thinned past the point of seasonal tolerance.
The reversible approach — score, wax, test, then reassess — preserves the original fabric of the window and keeps repair costs low. A sash that has been correctly waxed and given 2–3 mm of clearance will move freely through most UK winters without intervention. That is not a compromise; it is how these windows were designed to work.
Where rot or structural failure is involved, the calculus changes. No amount of waxing fixes a sill that has been wet for a decade. Knowing which situation you are in, and being honest about it, is the most practical skill a homeowner can develop when it comes to sash windows.
Get the right parts from Windowhardwarestore
Sash repairs go faster when you have the correct parts to hand before you start. Windowhardwarestore gives you direct access to trade-grade sash hardware — waxed cotton cord, replacement pulleys, sash pins, and sealing gaskets — without minimum order requirements and with real-time stock visibility so you know what is available before you commit.

Whether you are replacing a single pulley or ordering a full cord kit for several windows, trade pricing is open to all customers, and fast UK delivery means you are not waiting a week for a part that costs less than a cup of tea. Browse the full range and check live stock at Windowhardwarestore — and if you need guidance on which specification to order, the support team is there to help.
Useful sources
The following resources informed the diagnosis and repair guidance in this article:
- Sash window maintenance — The SPAB — authoritative guidance on non-destructive diagnosis and the case against forcing sashes.
- Craftsman window sash sticking: how to fix it — Craftsman Charm — parting bead compression and lubricant recommendations.
- Everything You Need to Know to Repair Sash Windows — This Old House — cord replacement, rot, and draught causes.
Recommended
- Sash Window Lock Problems: Why Your Lock Won't Hold | Window Hardware Store | Window Hardware Store
- Why Your uPVC Window Handle Is Stiff: Quick Troubleshooting | Window Hardware Store | Window Hardware Store
- Locking Window Handles: Common Problems and Quick Fixes | Window Hardware Store | Window Hardware Store
- Replacing Window Handles: Why Handles Go Stiff and How to Fix It | Window Hardware Store | Window Hardware Store