
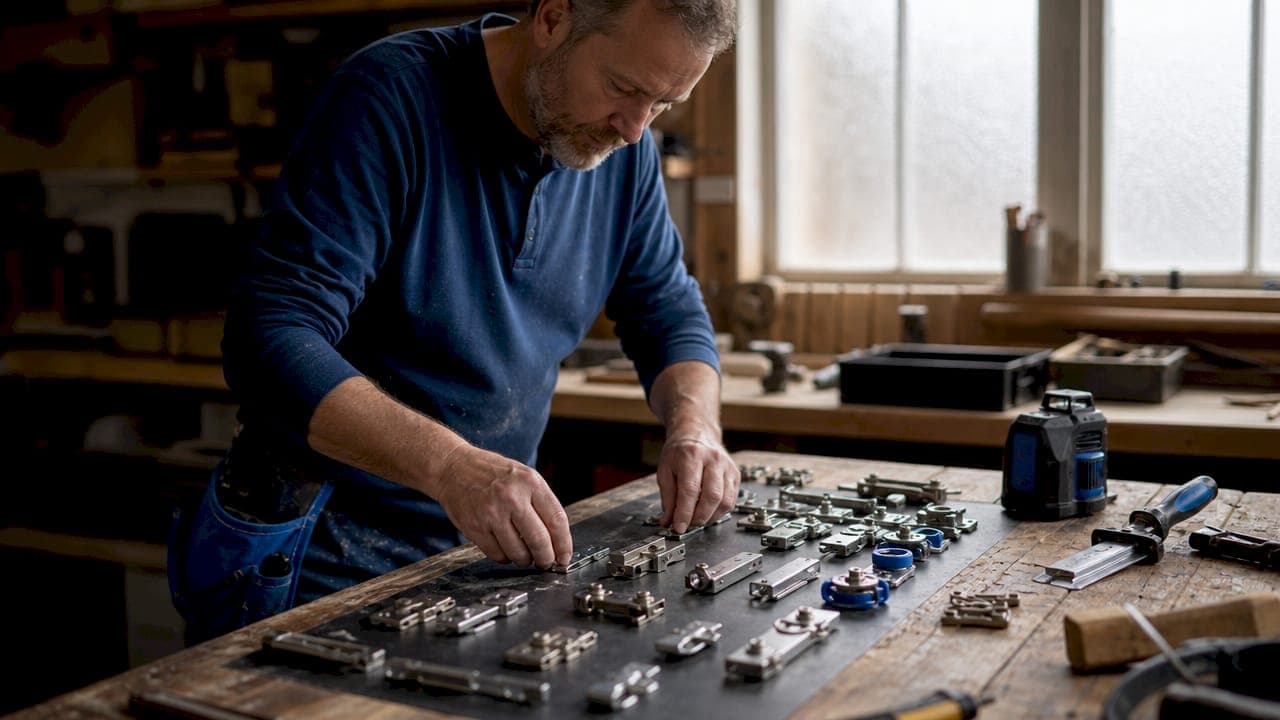
A window hardware kit is a matched set of components, including locks, handles, rollers, hinges, and seals, that together control how a window opens, closes, and stays secure. Building your own kit is entirely achievable for a confident DIY homeowner. You select the right parts for your window type, gather the correct tools and window installation materials, and follow a clear assembly process. Windowhardwarestore stocks the full range of components you need, from gaskets to locking handles, all with real-time stock visibility and UK delivery.
What essential parts make up a window hardware kit?
A complete window hardware assembly kit contains seven core component groups. Each one plays a specific role in how your window performs day to day.
- Rollers and track guides. Rollers carry the weight of a sliding sash along a track. The roller wheel profile must precisely match the track guide surface to avoid premature wear, noise, and sash wobble. Even high-quality rollers fail when paired with an incompatible track.
- Locking handles. A locking handle does two jobs: it pulls the sash closed and activates the locking mechanism. Choosing a handle with the right security features matters as much as choosing the right size.
- Sash locks (hook locks). These engage with a keep plate in the frame to resist forced entry. They work as part of a matched set with the handle.
- Hinges and operators. Casement windows use friction hinges and a crank operator to control the opening angle. The operator gearbox is the part most likely to wear first.
- Gaskets and seals. Rubber or EPDM gaskets run around the frame perimeter to block draughts and water. They compress when the window closes, forming a weather-tight barrier.
- Fixing screws. Stainless steel screws resist corrosion in exposed locations. Using the wrong screw gauge causes the frame to crack or the fitting to work loose over time.
- Flashing tape. Applied at the window-to-wall joint, flashing tape is the first line of defence against water ingress before any caulk is applied.
Lock, handle, and roller systems specified as matched sets ensure correct geometry for locking performance and anti-pry security. Matching hardware components dictate the force needed to breach a window and improve operational smoothness. This is the single most important specification decision you will make when building your kit. A mismatched set may look correct but will underperform on both security and longevity.
Sliding windows need rollers, track guides, and inline locking handles. Casement windows need friction hinges, a crank operator, and an espagnolette locking system. Knowing your window type before you order prevents costly returns and project delays.
Pro Tip: Before ordering any component, photograph your existing window hardware and note the brand markings. Many rollers and handles are brand-specific, and a like-for-like replacement will always fit better than a generic substitute.
What tools and materials do you need?
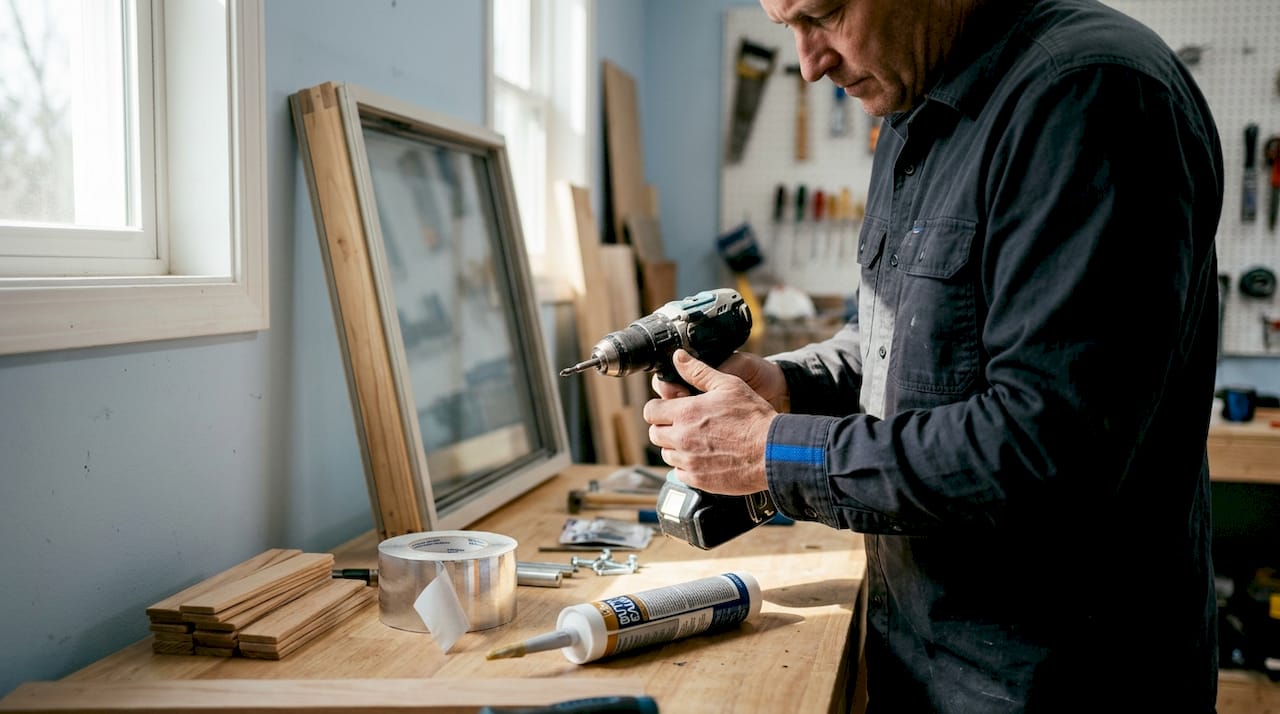
Gathering the right tools and materials before you start saves you a second trip to the supplier and keeps the project moving. The table below covers the core items for most window hardware projects.
| Item | Type | Typical use |
|---|---|---|
| Power drill | Tool | Driving screws and boring fixing holes |
| Screwdriver set | Tool | Fine adjustment of hinges, handles, and locks |
| Measuring tape | Tool | Checking sash dimensions and screw spacing |
| Spirit level | Tool | Confirming the frame sits plumb and level |
| Pry bar | Tool | Removing old frames or trim without damage |
| Wood shims | Material | Levelling the frame within the opening |
| Butyl caulk | Material | Sealing the frame perimeter against weather |
| Flashing tape | Material | Waterproofing the window-to-wall joint |
| Stainless steel screws | Material | Fixing hardware to frames in exposed positions |
| Spray foam insulation | Material | Filling gaps between frame and rough opening |
| Caulk gun | Tool | Applying butyl caulk cleanly and evenly |
Key installation materials include butyl caulk, flashing tape, wood shims, spray foam insulation rated for windows, and stainless steel screws. Proper flashing tape use is critical to prevent water ingress at window-to-wall joints. These are not optional extras; skipping any one of them creates a failure point that will show up within a season or two.
Butyl caulk remains soft and flexible over time, making it ideal for sealing window frames. Unlike hardening sealants, butyl caulk accommodates thermal movement without losing adhesion. This matters in the UK climate, where temperature swings between winter and summer put real stress on frame joints.
Safety equipment is non-negotiable. Wear gloves when handling glass or sharp frame sections. Use hearing protection with a power drill in enclosed spaces. If your window is above ground-floor level, use a stable ladder rated for your weight plus tools, and never lean out further than arm's reach.
Pro Tip: Invest in a quality caulk gun with a smooth-rod mechanism rather than a ratchet type. It gives you far better control over bead size, which means less mess and a neater finish around the frame.
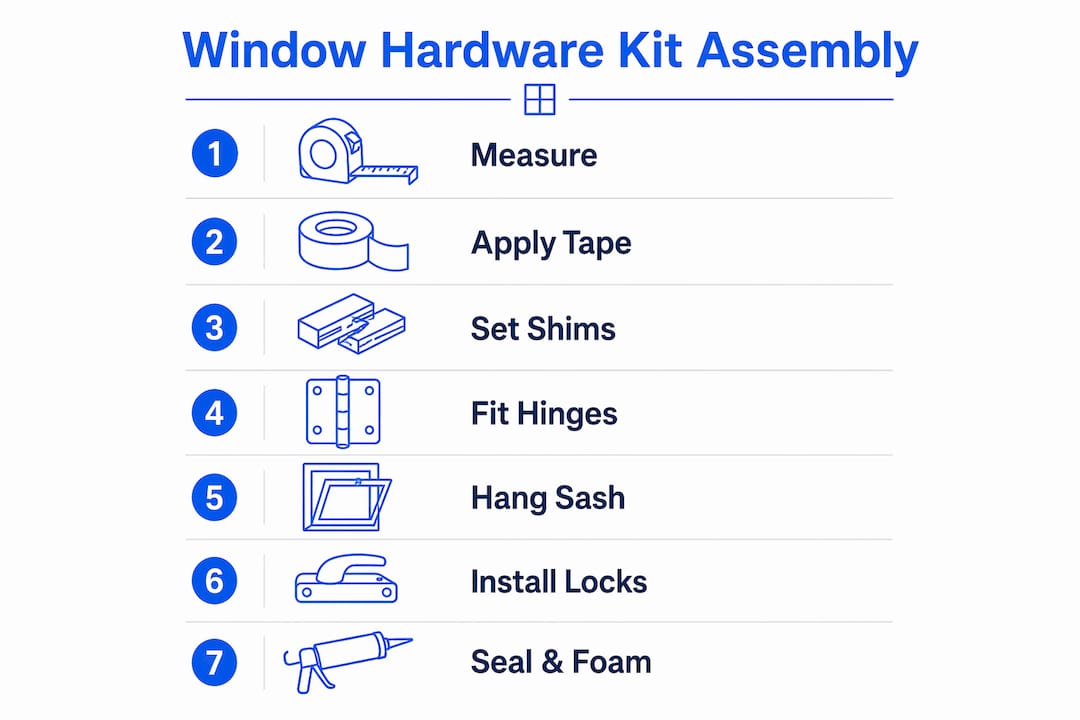
Step-by-step guide to assembling your window hardware kit
1. Measure and prepare the opening
Measure the width and height of the window opening at three points each: top, middle, and bottom for width; left, centre, and right for height. Use the smallest measurement to determine your sash size. Clean the opening of old caulk, debris, and loose paint before anything else goes in.
2. Apply flashing tape
Run flashing tape along the sill first, then up each side jamb, overlapping at the corners. This sequence sheds water downward rather than trapping it. Flashing tape applied in the wrong order is one of the most common causes of water damage behind window frames.
3. Set wood shims and check level
Place wood shims at the sill corners and check with a spirit level. A window that is even slightly out of level will bind on one side and leave a gap on the other. Adjust shims until the reading is true, then check plumb on both side jambs.
4. Fit the track or hinges
For sliding windows, screw the bottom track into the sill first, then fit the top track. Check that both tracks are parallel using a measuring tape diagonally across the opening. For casement windows, fit the hinge plates to the frame before lifting the sash into position.
5. Hang the sash and fit rollers
Lower the sash onto the bottom track and engage the top track guide. Matching roller load capacity and handle type is critical to avoid premature hardware failure and ensure smooth window function. Slide the sash back and forth to confirm it moves freely without wobble or resistance.
6. Install locking handles and sash locks as a matched set
Fit the locking handle to the sash rail and the keep plate to the frame. Close the window and engage the lock. The handle should turn smoothly to a firm stop. If it feels stiff or fails to engage cleanly, the keep plate needs adjusting before you proceed. You can find detailed guidance on locking handle selection to help you choose the right specification from the start.
7. Apply butyl caulk and spray foam
Apply a continuous bead of butyl caulk around the exterior frame perimeter. Fill the gap between the frame and the rough opening with spray foam insulation rated for windows. Standard expanding foam can bow uPVC frames, so always use a low-expansion product designed for this purpose.
8. Test and adjust
Open and close the window ten times. Check that the lock engages fully on every cycle. Look for any daylight visible around the frame when the window is closed. Address any gaps with additional caulk before the project is complete.
Safety note: DIY projects involving large or second-storey windows pose significant safety risks without specialised lifting equipment. If your window unit weighs more than you can safely manage alone, bring in a second person or hire professional help for the lift.
How do you troubleshoot common problems with your window kit?
Even a carefully assembled kit can develop issues. Most problems have a straightforward fix once you know where to look.
- Sticky or noisy rollers. The roller wheel profile may not match the track. Remove the sash, inspect the roller for flat spots or debris, and confirm the wheel diameter matches the track groove. Replace mismatched parts rather than forcing them to work.
- Poor lock engagement. The keep plate is almost always the culprit. Loosen the fixing screws, shift the plate by 1–2mm in the direction needed, and retest. A keep plate that is even slightly out of position prevents full lock engagement.
- Draught around the frame. Check the gasket for compression. A gasket that has hardened or split no longer seals. Replace it with a compatible EPDM or rubber window gasket cut to length. Also check that the butyl caulk bead has no gaps or voids.
- Casement window hard to crank. Casement window operators often become difficult to crank due to internal debris or wear rather than faulty handles alone. Remove the operator cover, clean the gearbox with a dry cloth, and apply a light machine oil. If the gearbox is stripped, replace the operator unit entirely.
- Sash misalignment. The window sits unevenly in the frame. Recheck the shims at the sill. Add or remove shim material until the sash sits square. Misalignment that appears after installation usually means the shims shifted before the foam cured.
- Water ingress at the frame joint. Flashing tape may have lifted at a corner. Press it back firmly and apply a bead of butyl caulk over the joint. If the tape has failed completely, remove it and relay from scratch.
Before you declare the project finished, re-check every screw for tightness. Vibration during the first few weeks of use can work screws loose, particularly on hinges and track fixings.
Key takeaways
A successful DIY window hardware kit depends on matched components, correct sealing materials, and careful measurement before a single screw goes in.
| Point | Details |
|---|---|
| Match all hardware as a set | Lock, handle, and roller must be specified together to guarantee security and smooth operation. |
| Flashing tape before caulk | Apply flashing tape first at the wall joint to prevent water ingress that caulk alone cannot stop. |
| Use butyl caulk for sealing | Butyl caulk stays flexible through thermal movement, making it the right choice for UK climates. |
| Check roller-track compatibility | Mismatched rollers and tracks cause noise, wear, and sash wobble regardless of component quality. |
| Assess safety before starting | Second-storey or heavy windows require a second person or professional lifting help to install safely. |
What I have learned from building window hardware kits
The part most DIYers underestimate is the matching. I have seen homeowners spend good money on quality handles and rollers, only to fit them together from different product families. The result is a window that feels loose, locks poorly, and wears out in half the time it should. The industry term for this is component compatibility, and it is the prime metric for any well-built window hardware assembly kit.
DIYers must honestly assess carpentry skills, the number of windows involved, and safety requirements before starting. That is not a warning to put you off. It is the advice that separates a project you are proud of from one you have to redo six months later.
The cost savings are real. Building from scratch costs £150–£300 in materials compared to several times that for specialist-made units. But those savings evaporate if you buy the wrong parts twice or damage a frame through poor technique.
My honest recommendation: source your components as a matched set from a supplier who can confirm compatibility before you order. That single step removes the most common source of failure in DIY window projects.
— Samuel
Windowhardwarestore: your source for matched window hardware
Putting together a quality window hardware kit is straightforward when you have the right supplier behind you.

Windowhardwarestore carries the full range of window hardware components you need for any repair or renovation project, from locking handles and sash locks to rollers, track guides, and gaskets. Every product listing includes compatibility information so you can confirm a matched set before you order. The team is available to support complex orders where you need advice on specifications. UK-wide delivery means your parts arrive quickly, keeping your project on schedule. Whether you are replacing a single handle or fitting out an entire property, Windowhardwarestore has the stock and the knowledge to help you get it right first time.
FAQ
What is a window hardware kit?
A window hardware kit is a matched collection of components, including handles, locks, rollers, hinges, and seals, that control how a window opens, closes, and stays secure. Sourcing parts as a matched set is the most reliable way to guarantee compatibility and performance.
How do I choose the right roller for my sliding window?
The roller wheel profile must match the track guide surface exactly. Check the track groove width and depth before ordering, and confirm the roller load rating suits the weight of your sash.
What is the best sealant for a window frame?
Butyl caulk is the recommended sealant for window frames because it stays flexible over time and accommodates thermal movement. Hardening sealants crack as the frame expands and contracts with temperature changes.
Can I build a window hardware kit myself without professional help?
Most single-storey window hardware projects are well within DIY capability if you have basic carpentry skills and the correct tools. Large or second-storey windows carry safety risks that often require a second person or professional assistance for the installation lift.
How do I stop draughts after fitting new window hardware?
Replace any hardened or split gasket with a compatible EPDM or rubber seal, and apply a continuous bead of butyl caulk around the exterior frame perimeter. Check that the locking handle pulls the sash firmly against the gasket when closed.
Recommended
- Window Hardware Store
- Replacing Window Handles: Locking vs Non-Locking Options | Window Hardware Store | Window Hardware Store
- Universal Window Handles: Do They Actually Fit Most Windows | Window Hardware Store | Window Hardware Store
- Locking Window Handles: Buying Checklist | Window Hardware Store | Window Hardware Store