
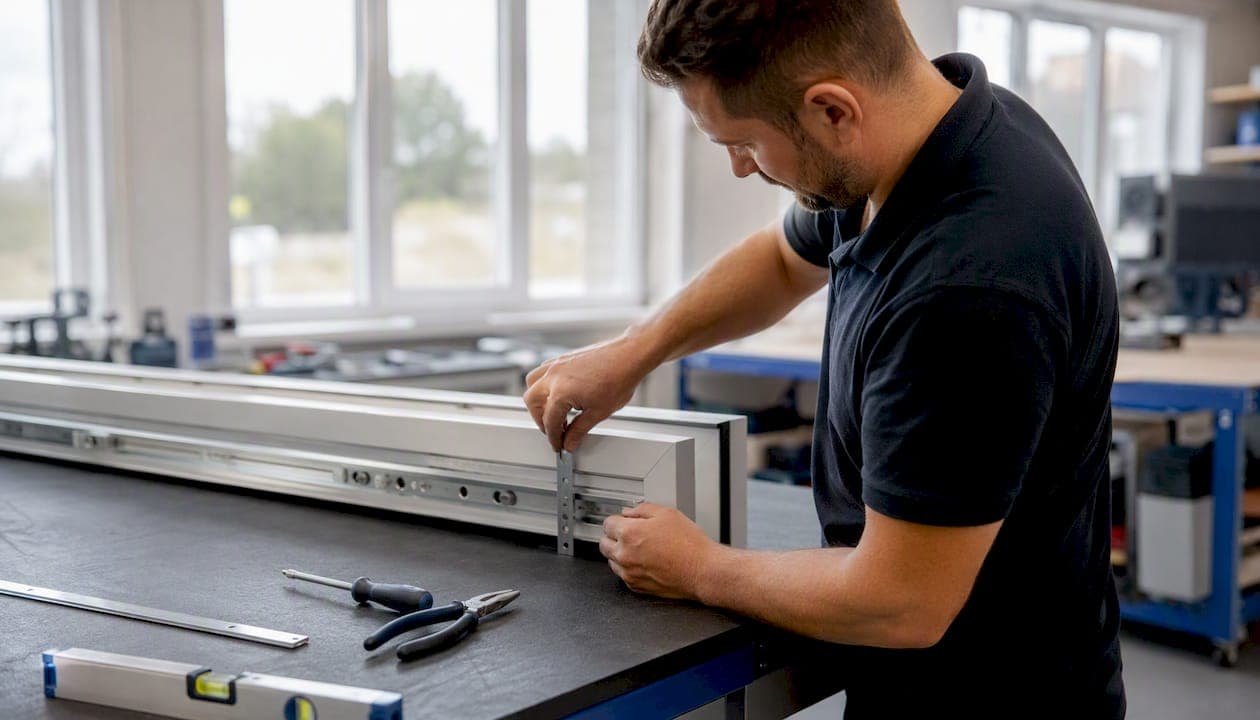
For most uPVC multipoint locks that still open freely, a safe emergency door lock fix is achievable in a short time with basic tools and the correct replacement parts. The key components — euro cylinder, multipoint gearbox, keeps, and handles — are all stocked by Windowhardwarestore with next-day UK delivery, so you rarely need to wait long to get back to a secure door.
Do this in the next five minutes:
- Keep the door propped open so you are not locked out mid-repair
- Photograph the lock strip, faceplate markings, and any visible damage
- Check the euro cylinder fixing screw (the small screw on the faceplate edge) — a loose or overtightened screw causes roughly half of all "gearbox failures" that are actually nothing of the sort
- Note whether the handle lifts freely or feels stiff; stiffness often points to a spindle or spring issue rather than a full multipoint lock failure
Stop immediately and call a professional if: the door will not open at all, a key has snapped inside the cylinder, the gearbox is grinding loudly under load, or you can see post-break-in frame damage. These are safety-critical situations where DIY work risks making things worse.
Typical parts cost for a gearbox or full lock strip varies depending on specification, with euro cylinders adding an additional cost. Most trade customers receive parts next working day.
Key takeaways
A safe emergency door lock fix on a uPVC multipoint system is achievable in under 90 minutes when the door opens freely, the correct measurements are taken, and the right replacement parts are sourced before work begins.
| Point | Details |
|---|---|
| Diagnose before you order | Check the cylinder fixing screw and spindle play first — these resolve many apparent gearbox failures. |
| Measure all five dimensions | Backset, PZ centres, faceplate width, overall lock length, and cylinder length must all be correct to avoid a wasted order. |
| Full strip beats gearbox-only when worn | Multiple worn locking points or a bent strip justify full replacement over a cheaper gearbox-only fix. |
| Stop on red flags | A stuck door, snapped key, or post-break-in damage means calling a professional, not attempting DIY. |
| Windowhardwarestore for fast UK supply | Real-time stock, trade pricing, and next-day dispatch on uPVC lock components including gearboxes, cylinders, and gaskets. |
Table of Contents
- What symptom is your lock showing? Fast fault diagnosis
- Tools and safety checks before you start
- How to measure your lock and identify the right replacement parts
- Step-by-step: replacing a uPVC multipoint lock mechanism
- Gearbox-only or full lock strip: which repair is right?
- What to order now: parts checklist and UK sourcing
- How to test the replacement and keep it working
- When should you call a professional instead?
- What most emergency repairs get wrong
- Windowhardwarestore has the parts you need, ready to dispatch
- Sources
What symptom is your lock showing? Fast fault diagnosis
Matching the symptom to the failing component saves you from ordering the wrong part. The table below maps the most common signs to their likely causes.
| Symptom | Most likely fault | Quick check |
|---|---|---|
| Handle lifts but locking points don't move | Gearbox worn or broken | Lift handle slowly — feel for resistance or slipping |
| Locking points engage intermittently | Gearbox cam worn or keeps misaligned | Check keep alignment with door closed |
| Grinding or clicking when lifting handle | Gearbox internal wear | Listen for consistent grinding vs. single click |
| Handle stiff or won't return | Spindle worn, spring broken, or overtightened screw | Check spindle play and cylinder fixing screw tension |
| Scraping sound when door closes | Keep misalignment or door drop | Inspect keep position and hinge condition |
| Key turns but deadbolt won't throw | Cylinder or gearbox cam fault | Test cylinder removed from door |
Most door hardware problems stem from wear or misalignment rather than catastrophic failure, which means targeted component repair is usually the right first move when the frame and glazing are intact.
Pro Tip: Before ordering anything, check the cylinder fixing screw tension and test the spindle for side-to-side play. Experienced locksmiths report that these two checks alone eliminate unnecessary full-strip orders on a significant proportion of call-outs.
Call a professional if you see:
- Door frame visibly twisted or sprung
- Multiple locking points seized simultaneously after a forced entry attempt
- Cylinder spinning freely (cylinder has been drilled or snapped)
Tools and safety checks before you start
You need these tools to hand before removing a single screw:
- Phillips and flat-head screwdrivers (PH2 and PH1)
- 3 mm and 4 mm Allen keys
- Steel tape measure
- Soft mallet (for persuading a tight strip without bending it)
- PTFE or silicone spray lubricant — not WD-40 or heavy oil
- Phone or camera for reference photographs
- Safety glasses and work gloves
Door safety checklist before you begin:
- Prop the door fully open with a wedge or have a second person hold it
- Never force the handle or key once you have removed fixing screws
- Confirm the door is not binding on the frame before removing the lock strip
- Wear eye protection when removing screws under tension
A dropped door damages the frame and the new mechanism. On heavy composite or reinforced uPVC doors, support the door weight with a timber wedge under the bottom edge before sliding the lock strip out. The strip itself offers some structural rigidity; once removed, the door can shift on its hinges.
How to measure your lock and identify the right replacement parts
Incorrect sizing is the number one reason DIY replacements fail in UK homes. Take every measurement before placing an order.
- Backset — measure from the edge of the door to the centre of the spindle hole. Common UK sizes include backsets measured in millimeters, but exact sizes vary and should be measured carefully. Getting this wrong means the handle will not align with the spindle.
- PZ centres — measure from the centre of the spindle hole to the centre of the cylinder hole. Common PZ centre dimensions vary and should be measured carefully for proper fit. This dimension must match the new mechanism exactly.
- Faceplate width — measure the width of the metal strip on the door edge. Faceplate widths vary among common standard sizes; accurate measurement is necessary for correct fitting.
- Overall lock length — measure the full length of the existing strip from top to bottom. This determines whether a direct replacement fits the door profile.
- Cylinder length — measure each side of the cylinder from the centre of the cam screw hole. Cylinder lengths vary by side and should be measured individually for correct replacement. Record both sides separately.
For a full walkthrough with photographs of each measurement point, the uPVC door lock measurement guide on the Windowhardwarestore site covers every dimension in detail.
Photograph before you remove anything:
- The full faceplate with any brand markings visible
- The cylinder with its fixing screw in place
- The keeps on the door frame, showing their position relative to the locking points
These photos, combined with your measurements, are all a trade supplier needs to confirm the correct part.
Step-by-step: replacing a uPVC multipoint lock mechanism
Follow this sequence precisely. Skipping steps is the most common cause of a misaligned or damaged replacement.
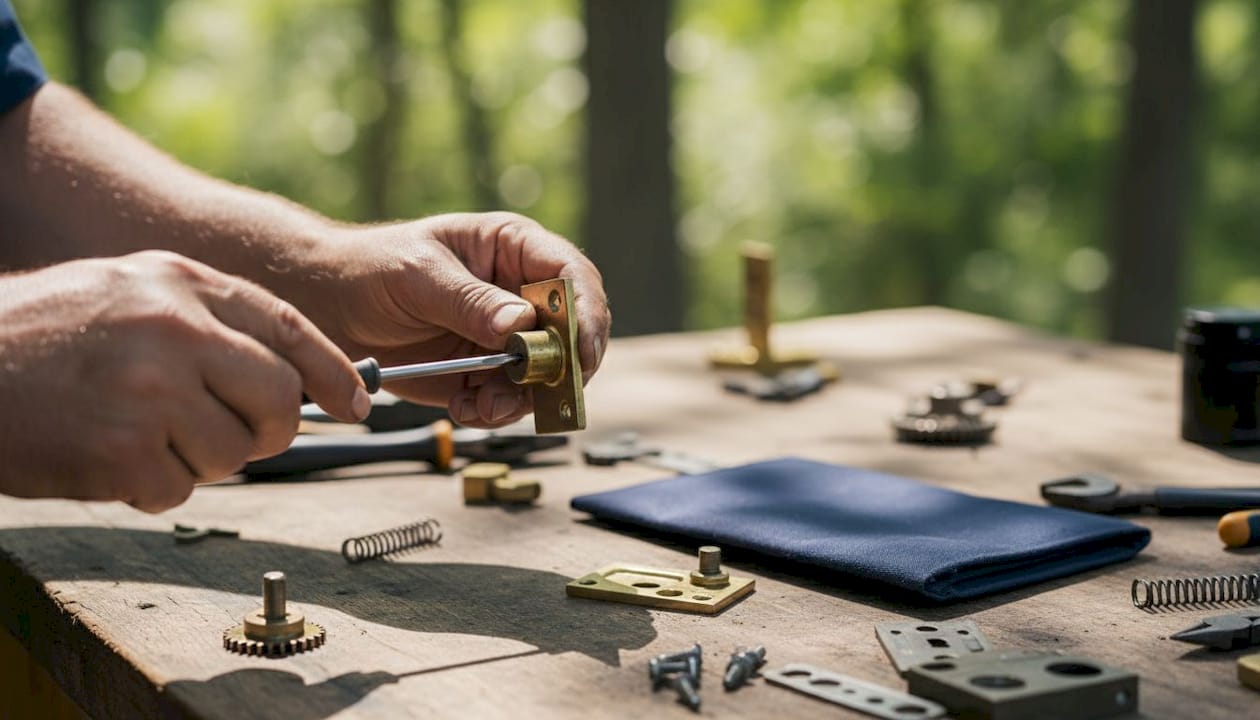
- Remove the handles first. Unscrew the handle fixings (usually two or three screws per rose). Slide the handles off the spindle and set them aside. Do not force them.
- Remove the euro cylinder. Undo the cylinder fixing screw on the faceplate edge. Turn the key 10–15 degrees to retract the cam, then slide the cylinder out. If it resists, check the screw is fully out.
- Remove the faceplate fixing screws. These run along the edge of the door, typically every 150–200 mm. Count them before you start so you know when you have them all.
- Slide out the lock strip. Pull the strip straight out of the door edge channel. Do not lever or twist it — a bent strip will not fit the new mechanism's keeps. Support the door throughout.
- Fit the new mechanism loosely. Slide the replacement strip into the channel, aligning the spindle hole and cylinder hole with the door's existing cutouts. Do not tighten yet.
- Centre and adjust. Close the door gently (do not latch it) and check that each locking point aligns with its keep. Adjust the strip position if needed before tightening the faceplate screws.
- Refit the cylinder. Insert the cylinder, turn the key slightly to align the cam, and tighten the fixing screw finger-tight plus a quarter turn. Overtightening this screw is a common cause of lock failure after replacement.
- Refit the handles. Slide onto the spindle and tighten the fixing screws evenly. Test the handle action before fully tightening.
For a detailed step-by-step replacement guide with additional trade notes, Windowhardwarestore's own guide covers the full procedure.
Pro Tip: Apply a small amount of PTFE spray to the lock strip channel and locking points before sliding the new mechanism in. It makes fitting smoother and reduces wear from day one.
Common pitfalls:
- Bending the strip during removal by levering rather than sliding
- Ordering the wrong backset because the old measurement was taken from the wrong reference point
- Overtightening the cylinder fixing screw, which binds the cam and prevents locking
Final test checklist: open and close the door freely, lift the handle to engage all locking points, test the key in both locked and unlocked positions, and confirm the handle returns under spring pressure.
Gearbox-only or full lock strip: which repair is right?
Choose gearbox-only replacement when:
- The failure is isolated to one area of the mechanism
- The lock strip is straight and undamaged
- All other locking points engage cleanly
- A matching gearbox is available for your strip model
Choose full lock strip replacement when:
- Multiple locking points are worn or failing
- The strip is bent, corroded, or has been forced
- You have had repeated gearbox failures on the same door
- The strip profile is obsolete and a matching gearbox is unavailable
The upfront saving on a gearbox-only repair can be false economy. If the strip has two or more worn locking points alongside the failed gearbox, fitting a new gearbox into a tired strip typically means returning to the same door within 12–18 months. A full strip replacement costs more once but lasts considerably longer.
Pro Tip: Before committing to gearbox-only, inspect every locking point on the strip with the door open. Press each bolt or roller by hand — any that feel loose, corroded, or fail to spring back cleanly are a sign the strip is past its best.
A repair-first approach preserves the existing frame and glazing, but only when the components being retained are genuinely sound.
What to order now: parts checklist and UK sourcing
Order these components based on your diagnosis and measurements:
- Euro cylinder — specify total length and both individual side measurements (e.g. 35/45 mm), profile (euro), and whether anti-snap is required
- Multipoint gearbox — note the backset, PZ centres, and any trade code visible on the existing mechanism
- Full lock strip — if replacing the whole mechanism, confirm overall length, faceplate width, and locking point positions
- Keeps — check keep depth and screw spacing against the door frame
- Spindle — measure length and square size (typically 8 mm square)
- Handles — confirm backset and spindle hole centres; the Winlock Patio Door Handle Set is a reliable option for patio and French door replacements
- Gaskets — if the door seal is disturbed during repair, the E020 E gasket, E015 E gasket, and TW023 wedge gasket cover the most common uPVC door profiles
- RES Lock Concealed Window Restrictor — worth adding to the order if the repair involves a window adjacent to the door, available as the RES Lock Concealed Restrictor
Pro Tip: When placing an urgent order, include three things: your measurements as a list, at least two photographs (faceplate markings and cylinder), and any trade code or brand name visible on the existing mechanism. This lets the Windowhardwarestore support team confirm compatibility before dispatch.
How to test the replacement and keep it working
Run through this sequence after fitting:
- With the door open, lift the handle fully and confirm all locking points extend and retract smoothly.
- Close the door without latching and check that locking points align with their keeps before engaging.
- Lift the handle to lock and test the key in both directions.
- Open from outside using the key to confirm the cylinder cam is operating correctly.
- Apply PTFE or silicone spray to the lock strip channel, locking points, and hinge pivot points.
Aftercare checklist:
- Avoid heavy oil or WD-40 on lock mechanisms — they attract grit and accelerate wear
- Check keep alignment after the first week of use; doors settle slightly after a new mechanism is fitted
- The cylinder fixing screw should be checked at the same time — it can work slightly loose with repeated use
- If any locking point feels stiff after a week, adjust the corresponding keep rather than forcing the handle
When should you call a professional instead?
Some situations make DIY work unsafe or likely to cause further damage. Stop and call a professional locksmith if:
- The door will not open, regardless of the cause
- A key has snapped inside the cylinder
- The gearbox is grinding loudly and the handle feels heavy under load
- There is visible post-break-in damage to the frame, cylinder, or locking points
- The door has dropped significantly and the frame is visibly out of square
- You are unsure of the lock profile and cannot identify a matching replacement
When you call, have your photographs and measurements ready. The part codes or brand markings from the existing mechanism will help a professional source the correct replacement quickly, even if the repair itself is beyond DIY scope. Calling a professional is the right decision for safety-critical problems — there is no value in forcing a repair that risks leaving a door insecure overnight. For further guidance on common DIY door repair pitfalls, it is worth reviewing the scope of the work before you begin.
What most emergency repairs get wrong
The single most common mistake in an emergency repair is skipping the diagnostic step and ordering a full lock strip based on a symptom that a £5 cylinder fixing screw or a spindle replacement would have resolved. The second most common is measuring the backset from the wrong reference point and receiving a part that almost fits — which is worse than one that clearly does not, because it takes time to identify.
A few trade shortcuts that consistently save time on urgent calls:
- Always check the cylinder fixing screw before touching anything else
- Photograph the faceplate markings before removal — brand codes are often worn off by the time you need them
- Test the spindle for play with the handles removed; a worn spindle causes symptoms identical to a failing gearbox
- Keep a small stock of common euro cylinders (35/35 mm and 35/45 mm) if you are doing regular maintenance work
Measurement and diagnosis are not the slow part of an emergency fix. Ordering the wrong part and waiting for a second delivery is.
Windowhardwarestore has the parts you need, ready to dispatch
When a door lock fails and you need the right component today, Windowhardwarestore gives you real-time stock visibility across the full range of uPVC door hardware — gearboxes, full lock strips, euro cylinders, keeps, spindles, handles, and gaskets — all at trade pricing with no minimum order.
The Winlock Patio Door Handle Set and the full gasket range (E020 E, E015 E, TW023 wedge) are available for immediate order alongside replacement lock mechanisms. Trade account holders benefit from dedicated support for complex or urgent orders, and next-day dispatch is available on stocked items. If you are unsure which part matches your measurements, the support team can confirm compatibility before you check out.
Visit Windowhardwarestore to check live stock, place your order, or get in touch with the trade support team for urgent parts advice.
Sources
- How to Replace uPVC Door Lock Mechanism Guide
- Door hardware repair explained: door hinge and handle issues
Recommended
- uPVC Door Lock Not Locking Properly? Troubleshooting Tips | Window Hardware Store | Window Hardware Store
- How to Replace a uPVC Door Lock: Step-by-Step DIY Guide | Window Hardware Store | Window Hardware Store
- Replacement Locks For Upvc Doors | Window Hardware Store | Window Hardware Store
- How to Measure a uPVC Door Lock for Replacement | Window Hardware Store | Window Hardware Store