
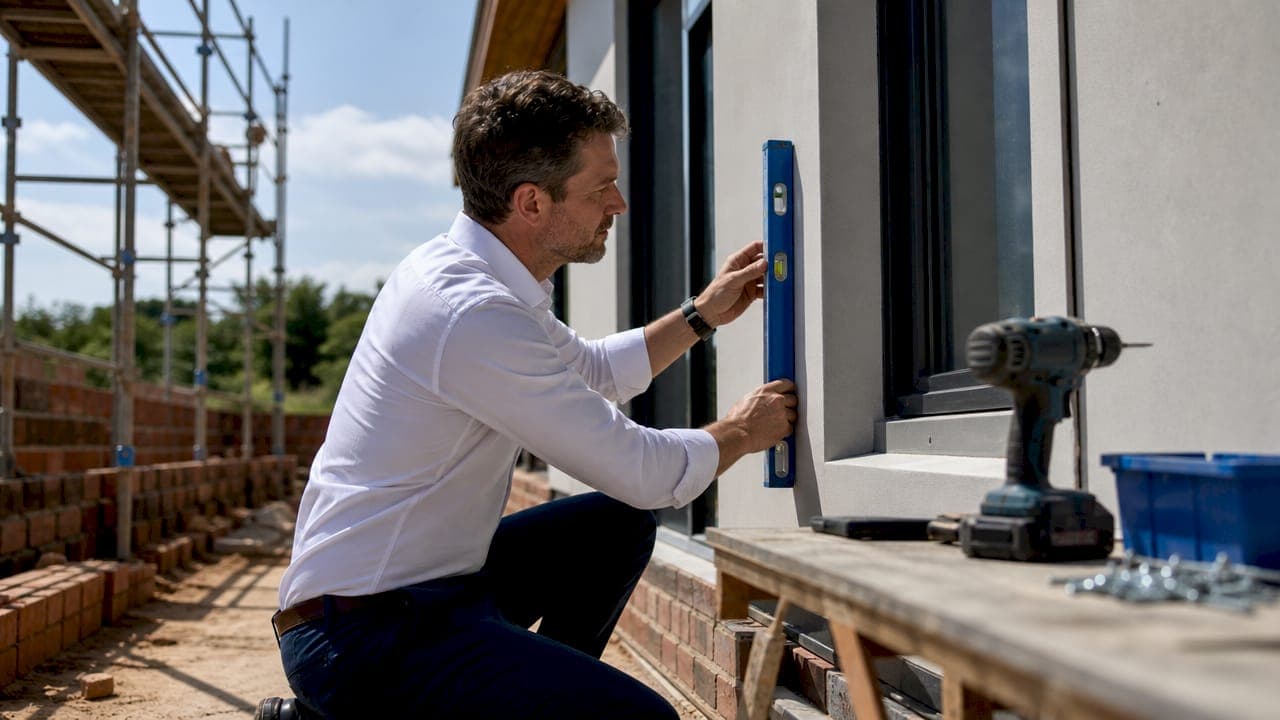
Common window installation mistakes are errors in measuring, flashing, sealing, and fastening that directly reduce window performance, energy efficiency, and lifespan. A poorly fitted window does not just look wrong. It lets in water, creates draughts, and can cause structural rot that costs far more to fix than the original window. Whether you are replacing a single sash or fitting new frames throughout your home, knowing where installations go wrong is the fastest way to get them right.
1. What are the most common window installation mistakes?
The most frequent installation faults in windows fall into four categories: measurement errors, flashing failures, sealing problems, and fastening mistakes. Each one compounds the others. A window that is measured incorrectly will never seal properly, and a window that is not sealed properly will eventually rot the frame around it. Getting the basics right from the start protects your investment and avoids expensive remedial work.
Understanding these categories also helps you ask better questions before you buy. Knowing that fitting issues in older homes are often caused by irregular openings, not faulty products, changes how you approach the job entirely.
2. Measuring incorrectly for the rough opening
Measurement errors are the single most common starting point for a failed installation. Industry standard requires measuring width and height at multiple points, not just once, and using the smallest measurement to determine the correct window size. Older homes rarely have perfectly square or plumb openings, so a single measurement gives you a false picture of the space.
The correct clearance between the window frame and the rough opening is 1/4 to 1/2 inch on each side. That gap allows for shimming, which is the process of inserting small wedges to level and square the frame before fixing it permanently. Without that clearance, the frame sits under pressure and distorts over time.
Common measurement errors to avoid:
- Measuring only once at the widest point and ordering to that size
- Ignoring out-of-square openings in older properties
- Failing to account for shimming clearance, leading to a frame that is forced into position
- Measuring the old window unit rather than the actual rough opening
- Confusing the frame size with the rough opening size on the order form
Forcing a window into an opening that is too tight causes operational failure including sashes that stick, locks that will not engage, and frames that crack under pressure. That damage is often irreversible without removing the window entirely.
Pro Tip: Measure width at the top, middle, and bottom of the opening, and height on both sides and through the centre. Use the smallest figure in each direction. Write all six measurements down before you order anything.
3. How to correctly apply flashing and waterproofing to prevent leaks
Improper flashing is the leading cause of window failure, resulting in structural rot, mould, and repair costs that easily exceed the price of the window itself. Flashing is the waterproof membrane or tape applied around the window perimeter to direct water away from the building structure. Get the sequence wrong and water funnels directly into your walls.
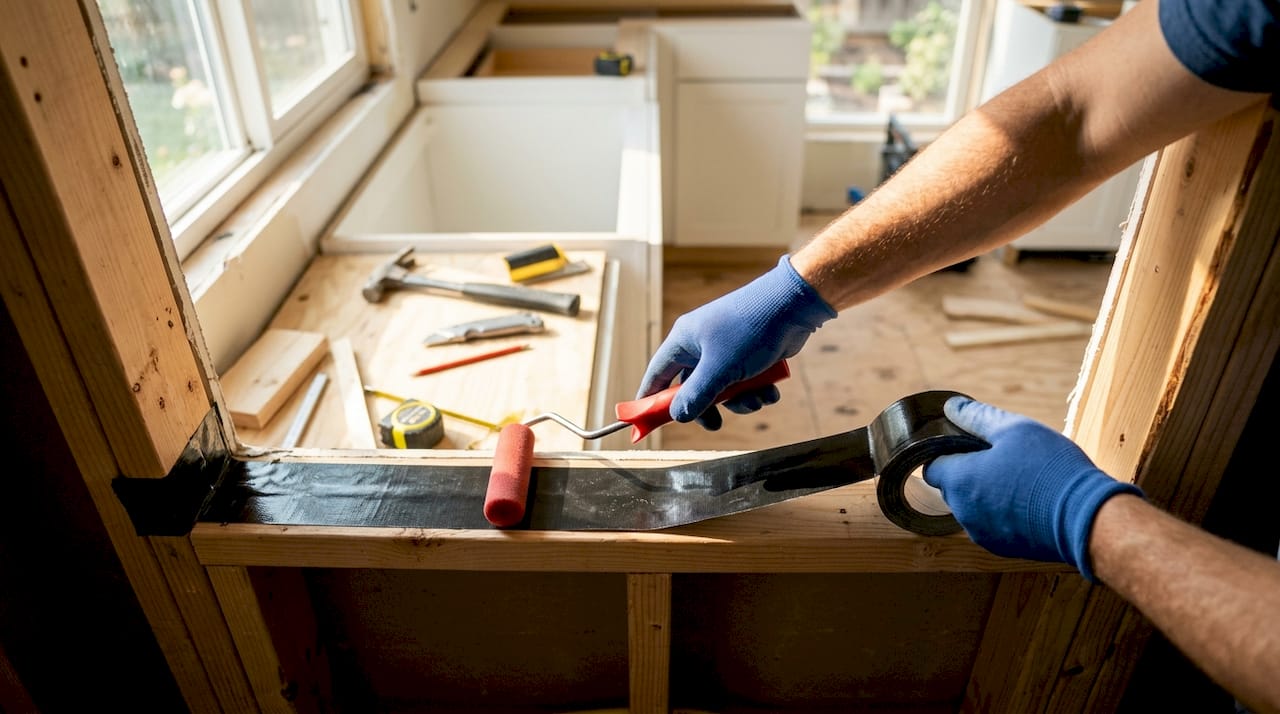
The correct method follows the shingle-lap sequence, working from the bottom of the opening upwards:
- Apply sill pan flashing along the bottom of the rough opening first
- Fit the jamb flashing up both sides, overlapping the sill pan at the corners
- Apply head flashing across the top, overlapping both jamb pieces
Reversing this sequence creates channels that direct water behind the flashing and into the wall cavity. The damage is hidden until rot or mould becomes visible, by which point the repair bill is substantial.
Water leaks often originate higher in the flashing or perimeter seal rather than at the visible damp patch. Fixing the visible leak without addressing the flashing above it is ineffective and will not stop the problem returning.
Before fitting any flashing, inspect the rough opening carefully. A new window cannot compensate for rotted sills or soft timber in the surrounding frame. Replace any damaged wood before the new window goes in. Skipping this step means you are sealing a problem inside the wall rather than solving it.
Pro Tip: Press flashing tape firmly into all corners with a roller or the back of a spoon. Air pockets under the tape are the most common cause of early flashing failure.
4. What sealing and insulation mistakes cause operational problems and energy loss?
The wrong type of foam is one of the most damaging and least obvious installation errors. Standard high-expansion spray foam pushes outward as it cures and distorts the window frame. The result is a sash that sticks, a lock that no longer aligns, and a frame that is permanently bowed. Window-specific low-expansion foam is designed to fill gaps without applying lateral pressure.
Signs that the wrong foam has been used include:
- Sashes that are difficult to open or close after installation
- Locking handles that no longer engage the keep correctly
- Visible bowing along the frame sides when viewed from outside
- Draughts appearing within weeks of a new installation
If your draught seals are failing shortly after installation, foam distortion is often the cause. The frame has moved just enough to break the seal contact around the sash.
Caulking errors also cause significant energy loss. Caulk should be applied along the exterior perimeter of the window where the frame meets the wall, but never along the bottom flange. Manufacturers specify that the bottom flange must remain unsealed to allow any water that enters the assembly to drain out. Sealing it traps moisture inside the wall, accelerating rot and mould growth.
Pro Tip: After fitting, open and close the window fully before the foam cures. If the sash moves freely, the foam is not distorting the frame. If it feels tight, remove and reapply with less foam before it sets.
5. What fastening errors should you avoid to protect window integrity?
Fastening errors are common because they feel minor in the moment but cause lasting damage. Over-tightening screws cracks the nailing fin, distorts the frame, and voids the manufacturer's warranty. Using the wrong fastener type causes the same problems. Pan-head screws are the recommended fastener for most window installations because their flat underside distributes load evenly without biting into the flange.
Fastening mistakes to avoid:
- Using roofing nails or framing nails instead of manufacturer-approved fixings
- Over-driving screws with a power drill set to full torque
- Placing fixings too close to the corners of the frame, where stress concentrates
- Skipping fixings along the sill, which allows the frame to rock under load
- Using fixings that are too long and penetrate through into the wall cavity
Overtightening fasteners damages nailing fins and the consequences go beyond cosmetic. A cracked fin breaks the continuous seal between the window and the wall, creating a direct path for water ingress. Once that seal is broken, no amount of caulking on the outside will reliably stop water from getting in.
Hand-tighten all fixings as a final step, even if you used a drill to drive them initially. This gives you tactile feedback and prevents the last half-turn that causes most of the damage. Check the frame for square after every third fixing by measuring diagonally across the corners. Both diagonal measurements should be equal.
Key takeaways
Avoiding common window installation mistakes requires correct measurement, proper flashing sequence, window-specific foam, and hand-tightened fixings applied in the right order.
| Point | Details |
|---|---|
| Measure at multiple points | Take six measurements across the opening and use the smallest figure to determine window size. |
| Follow the shingle-lap sequence | Apply flashing from sill to jambs to head, so water always flows away from the wall. |
| Use low-expansion foam only | Standard foam distorts frames and causes sticking sashes; always use window-specific foam. |
| Leave the bottom flange unsealed | Sealing all four sides traps water in the wall; the bottom must remain open for drainage. |
| Hand-tighten all fixings | Over-tightening cracks nailing fins, voids warranties, and breaks the perimeter seal. |
What I have learned from watching installations go wrong
The most expensive window jobs I have seen were not caused by bad products. They were caused by skipping the inspection step before the new window went in. A homeowner fits a quality double-glazed unit, seals it perfectly, and within two years the sill is soft and the frame is pulling away from the wall. The reason is almost always the same: the rough opening had soft or rotted timber that nobody checked before installation began.
My honest advice is to treat the rough opening as the most important part of the job. Prod every inch of the sill and surrounding frame with a screwdriver before you order anything. Soft spots compress under the screwdriver tip. Solid timber does not. If you find damage, repair it first. A new window fitted over a compromised opening will fail, regardless of how carefully everything else is done.
For DIYers, the temptation is to move quickly once the old window is out. The opening is exposed, the weather is unpredictable, and the new unit is sitting in the hallway. Resist that pressure. Take the time to check the frame, clean the opening, and apply the flashing correctly before the window goes in. The correct gasket type also matters more than most people realise. A mismatched gasket profile will not compress correctly and will leave gaps that no amount of caulk can reliably fill.
If you are uncertain about any part of the process, get a second opinion before you fix the window permanently. Undoing a badly fitted window is far more disruptive and costly than pausing to ask the right questions first.
— Samuel
Quality hardware makes the difference on every installation
Getting the technique right is only half the job. The other half is using components that are built to last.

At Windowhardwarestore, we stock the gaskets, fixings, handles, and sealing products that trade professionals and homeowners rely on for reliable installations. Our window gaskets are available in multiple profiles and lengths, so you get the right seal for your frame type every time. We carry real-time stock visibility across our full range, and our support team is on hand for complex orders. Whether you need a single replacement component or a full set of installation hardware, you can find it at Windowhardwarestore with fast nationwide delivery and no trade account required.
FAQ
What is the correct clearance for a window rough opening?
The rough opening should be 1/4 to 1/2 inch larger than the window frame on each side. This gap allows for shimming and prevents frame distortion during and after installation.
Why should the bottom window flange never be sealed?
Manufacturers specify that the bottom flange must remain unsealed to allow water to drain out of the assembly. Sealing it traps moisture inside the wall and causes rot and mould.
What type of foam should I use around a window frame?
Always use window-specific low-expansion foam. Standard high-expansion foam applies lateral pressure as it cures and distorts the frame, causing sashes to stick and locks to misalign.
How do I know if my window flashing has been applied incorrectly?
Water leaks often appear lower than the actual source. If damp patches appear below the window or at the sill, the flashing above may be incorrectly sequenced, directing water into the wall rather than away from it.
Can a new window fix an existing leak in the wall?
A new window cannot compensate for underlying damage such as rotted sills or soft framing timber. The rough opening must be fully inspected and repaired before any new window is fitted.
Recommended
- Locking Window Handles: Buying Checklist | Window Hardware Store | Window Hardware Store
- Universal Window Handles: Do They Actually Fit Most Windows | Window Hardware Store | Window Hardware Store
- Replacing Window Handles: Locking vs Non-Locking Options | Window Hardware Store | Window Hardware Store
- Casement Window Stays: Keeping Your Windows Open Safely | Window Hardware Store | Window Hardware Store